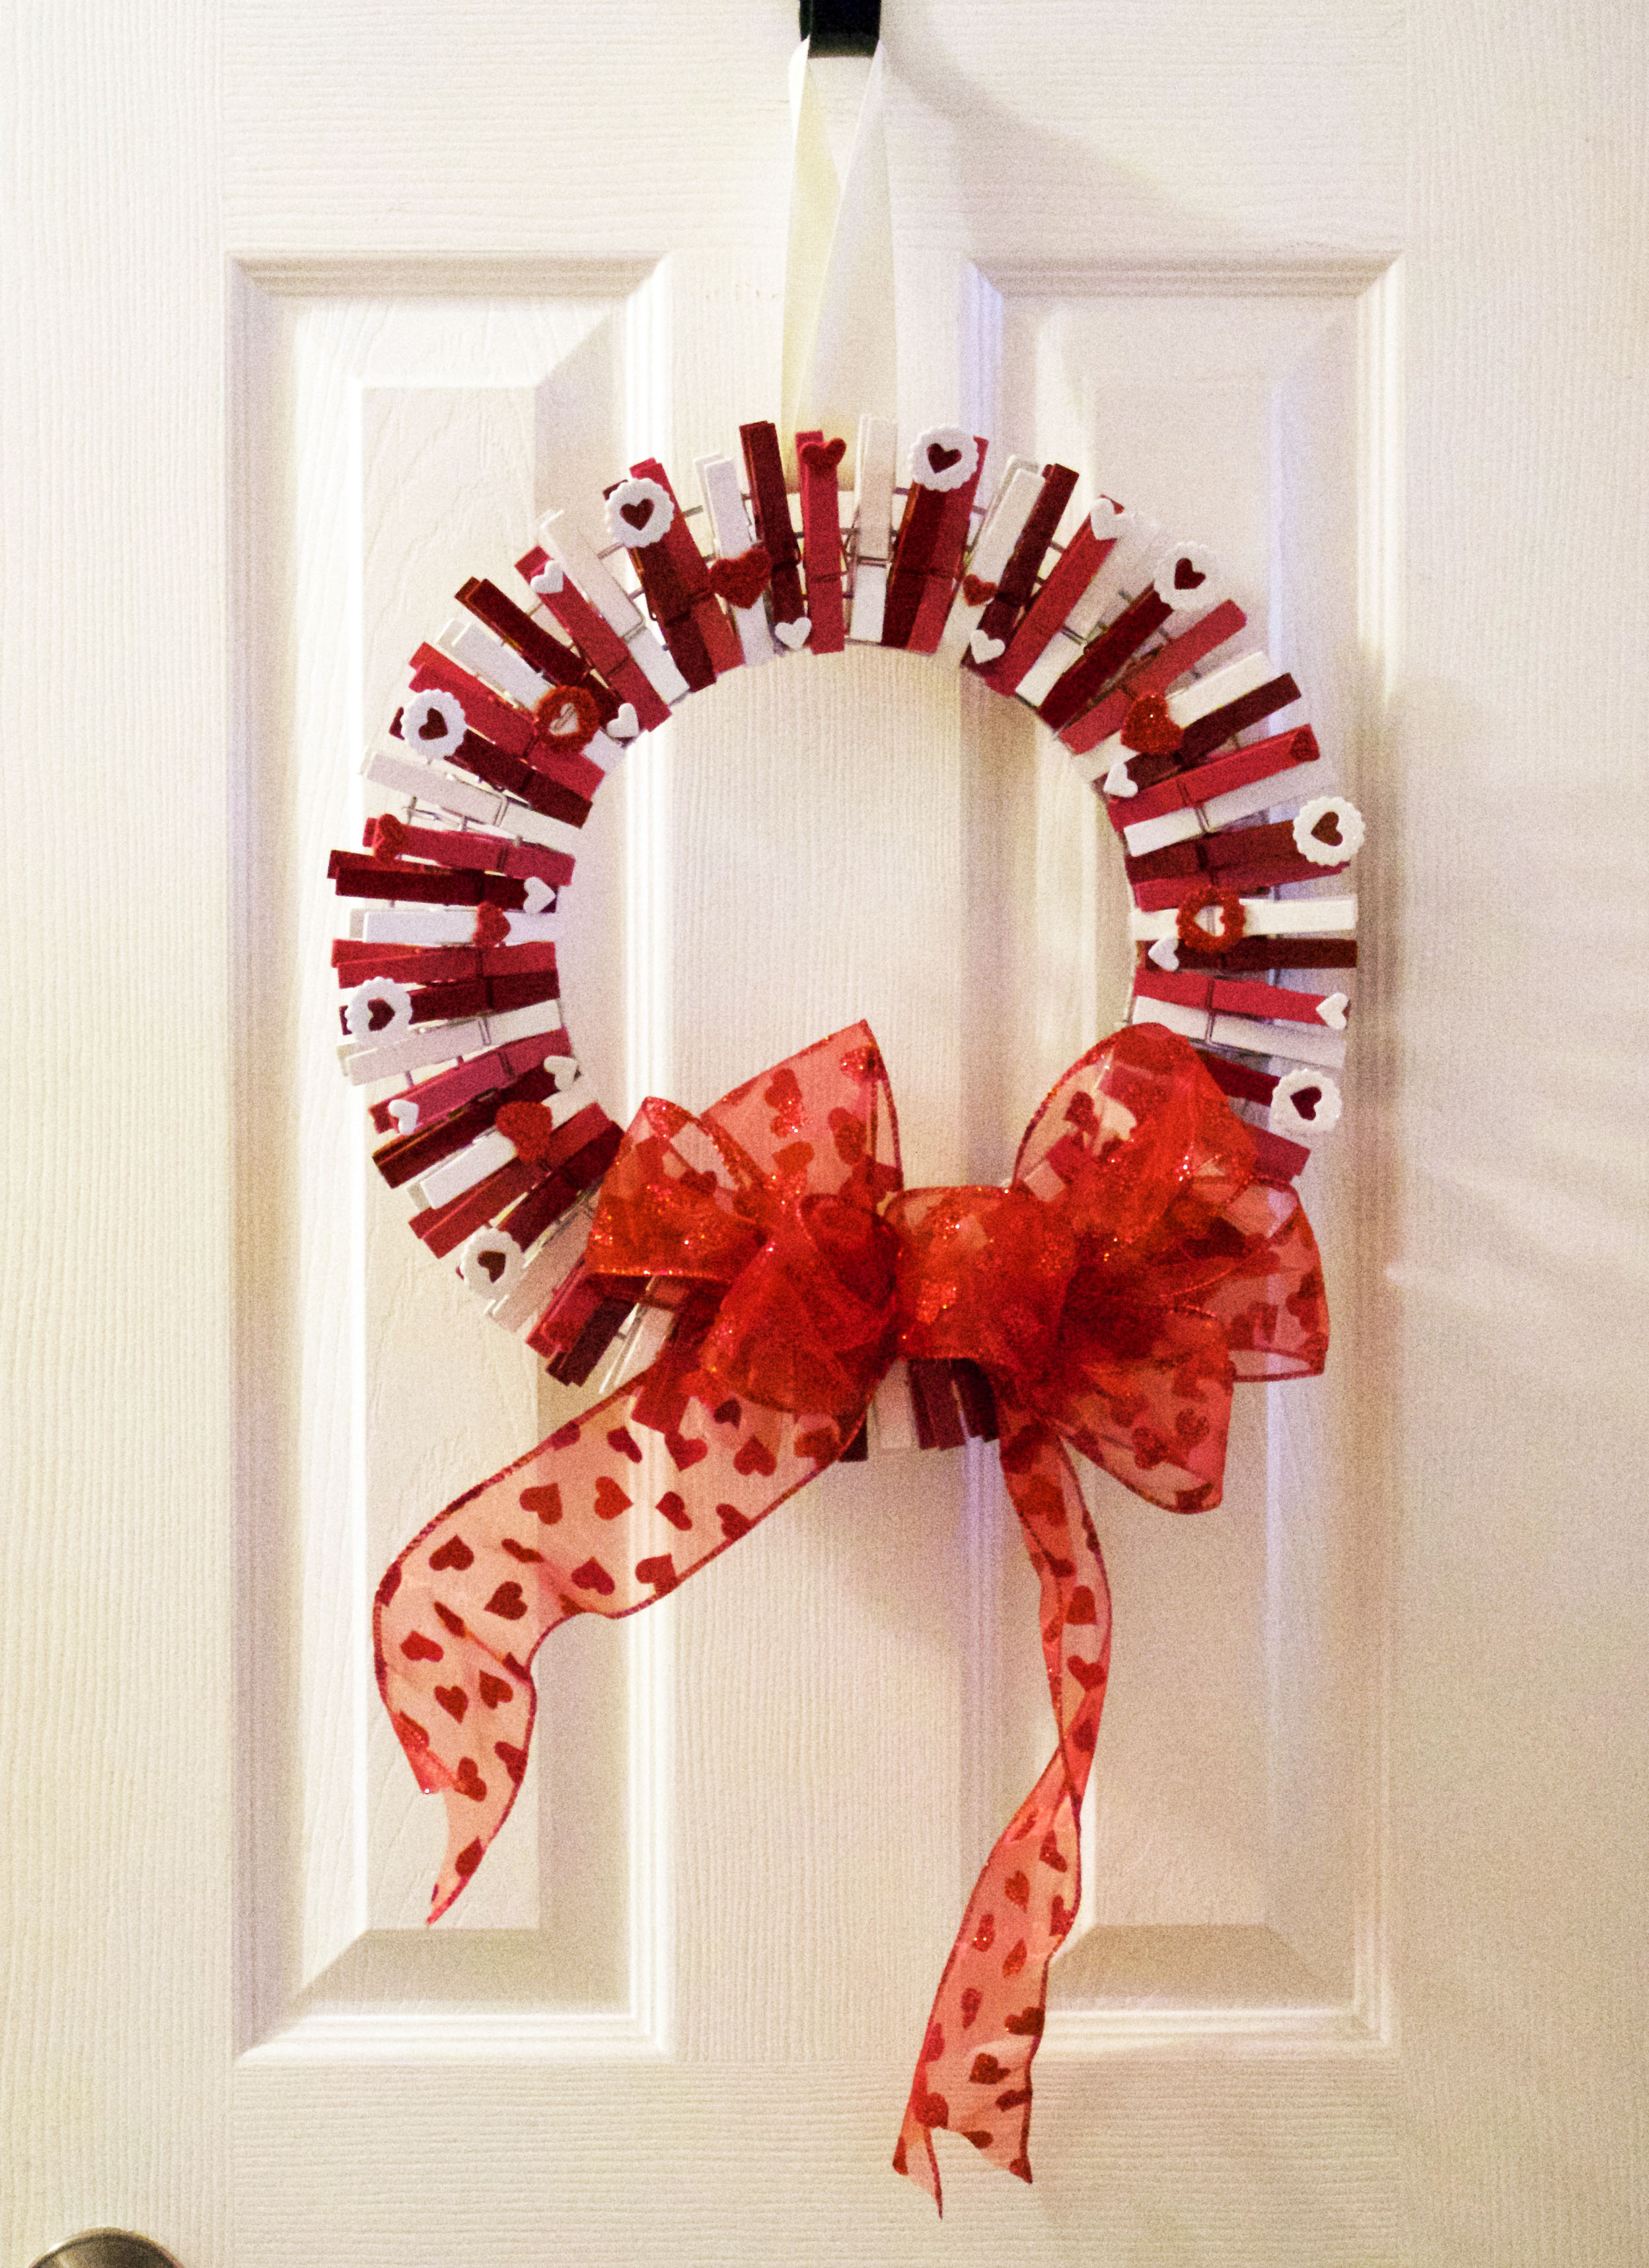
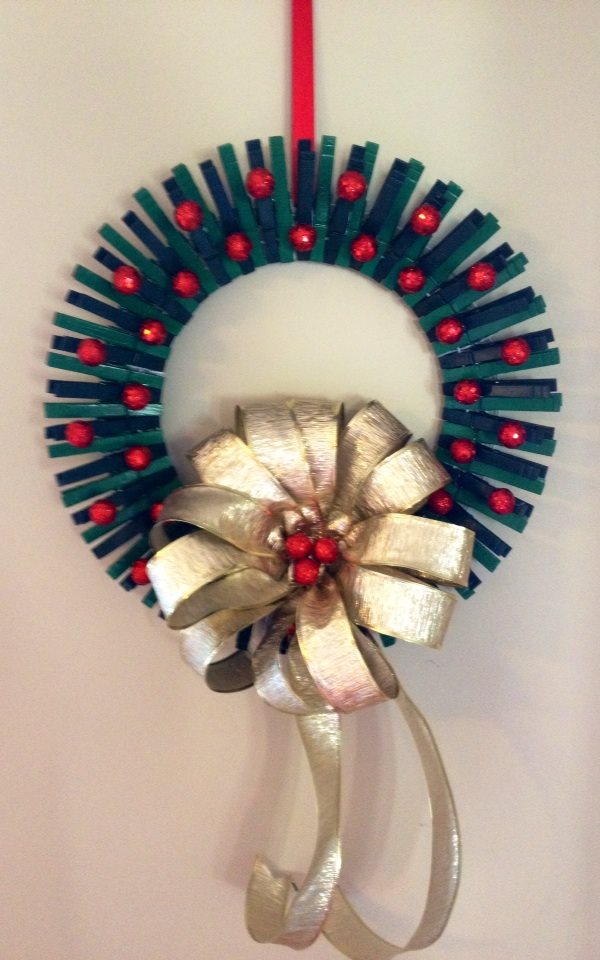
Update: I was honored to have my blog and 4th of July clothespin wreath craft featured in American Profile’s Community Table Magazine, Parade Magazine, and Real Simple. At the request of readers, I have also created a Christmas version with instructions here and a Valentine’s Day version with instructions here.
With 4th of July just around the corner, it’s time to start decorating with some red, white, and blue! I saw a similar patriotic clothespin wreath and thought, Hey, I can do that! so hit up Michael’s and Walmart to pick up my supplies and whipped up a few.
For those DIY’ers, here’s what you’ll need to make your very own 4th of July Clothespin Door Hanger. Since I’m a visual learner, I took lots of snaps of each step to help you along the way.
What you’ll need:
- 12″ Wire Wreath. These are sold in the florist section of any craft store for less than $3.
- 70 Clothespins (give or take one or two). I found Walmart was the cheapest at $1.98 for a pack of 100.
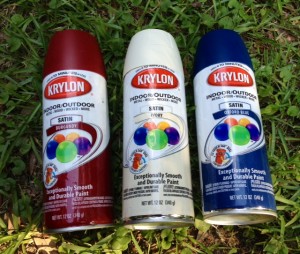
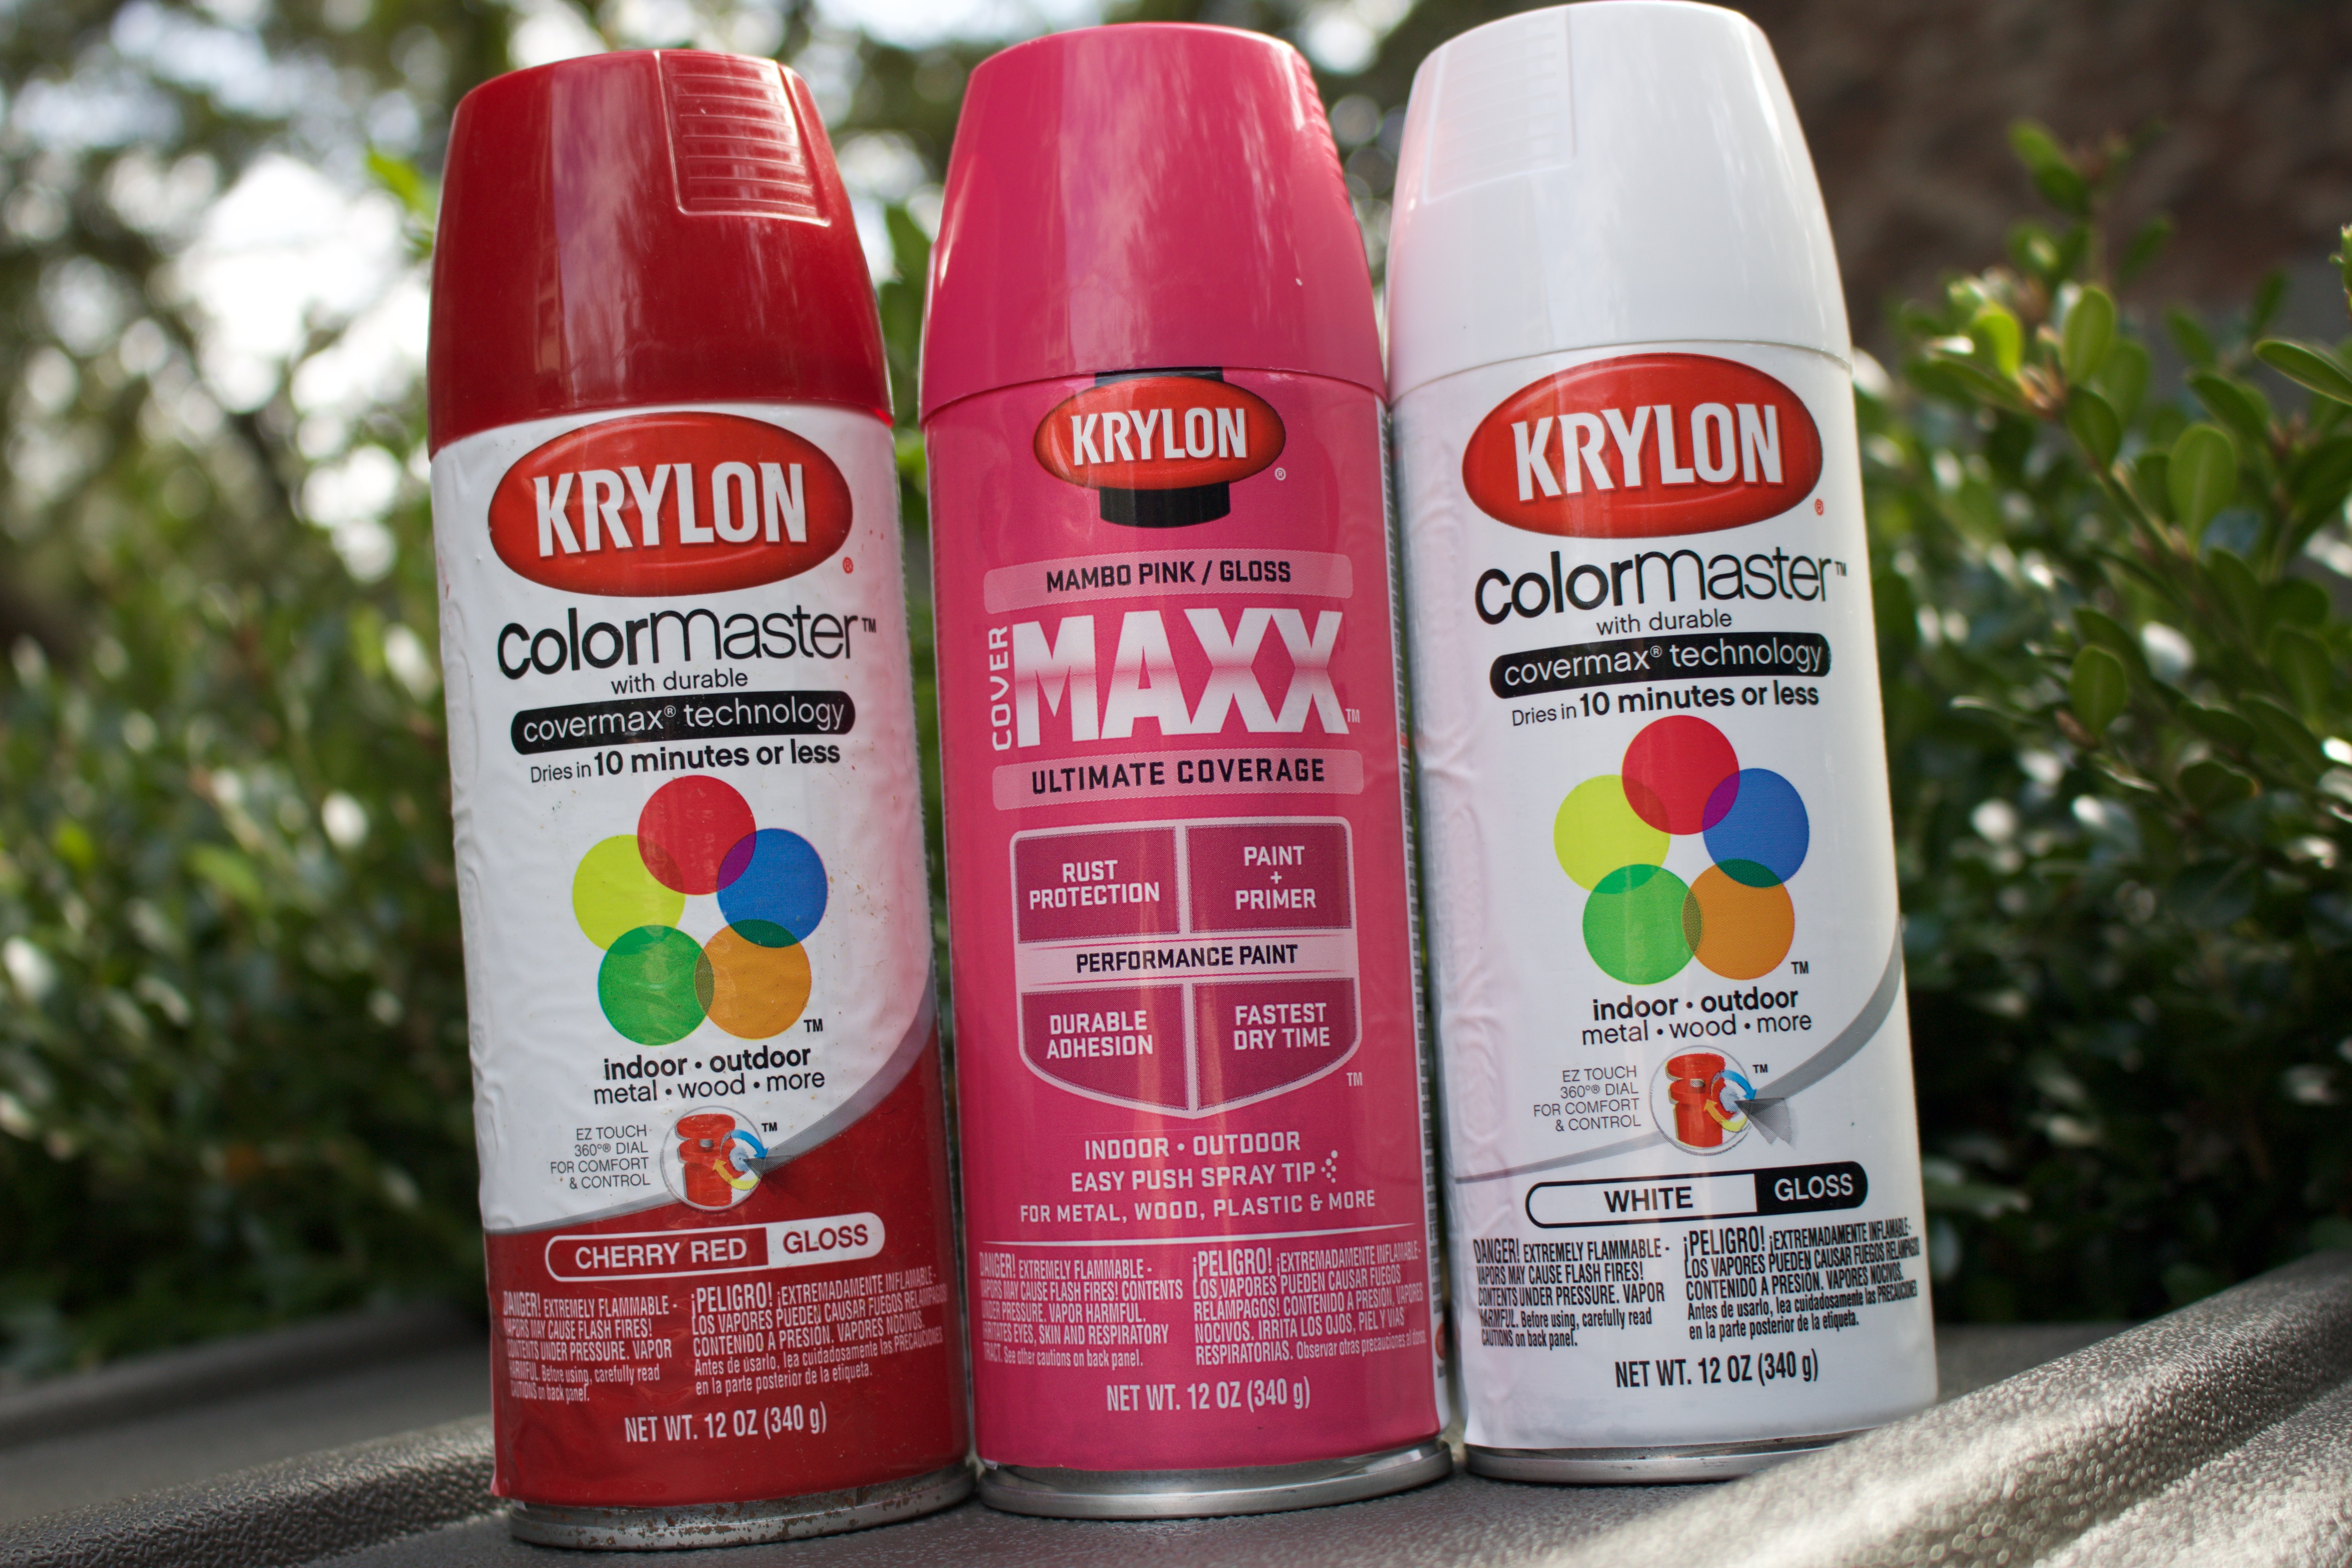
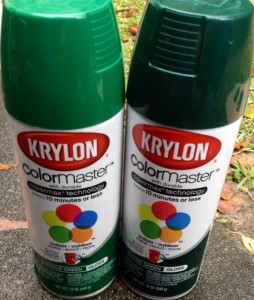
- Red, white, and blue spray paint. I went with Krylon Indoor/Outdoor since I wanted something to hang outside. I also went with country colors instead of traditional but you can do whichever you like. My colors were Burgundy, Ivory, and Oxford Blue, all in Krylon Satin. They cost about $3.50 a can at Walmart. You’ll have a ton left over so keep that in mind for future projects.
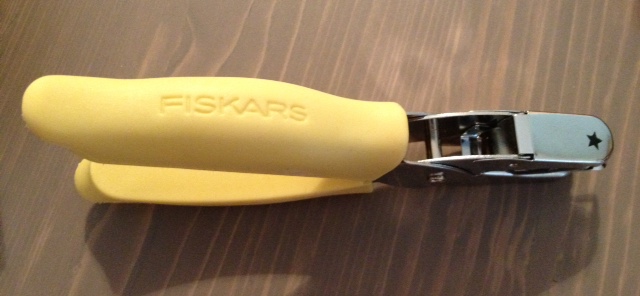
- Star Punch. A 1/4″ star works great so I bought an $8 Fiskers hand punch.
- Ivory/Cream textured card stock. When I bought my wreath at Michael’s, I swung by the scrapbooking section and picked up a piece of cardstock that was textured to make the stars pop a bit more.
- Gel Super Glue
- Hot glue gun & hot glue
- Ribbon to hang the wreath.
Directions:
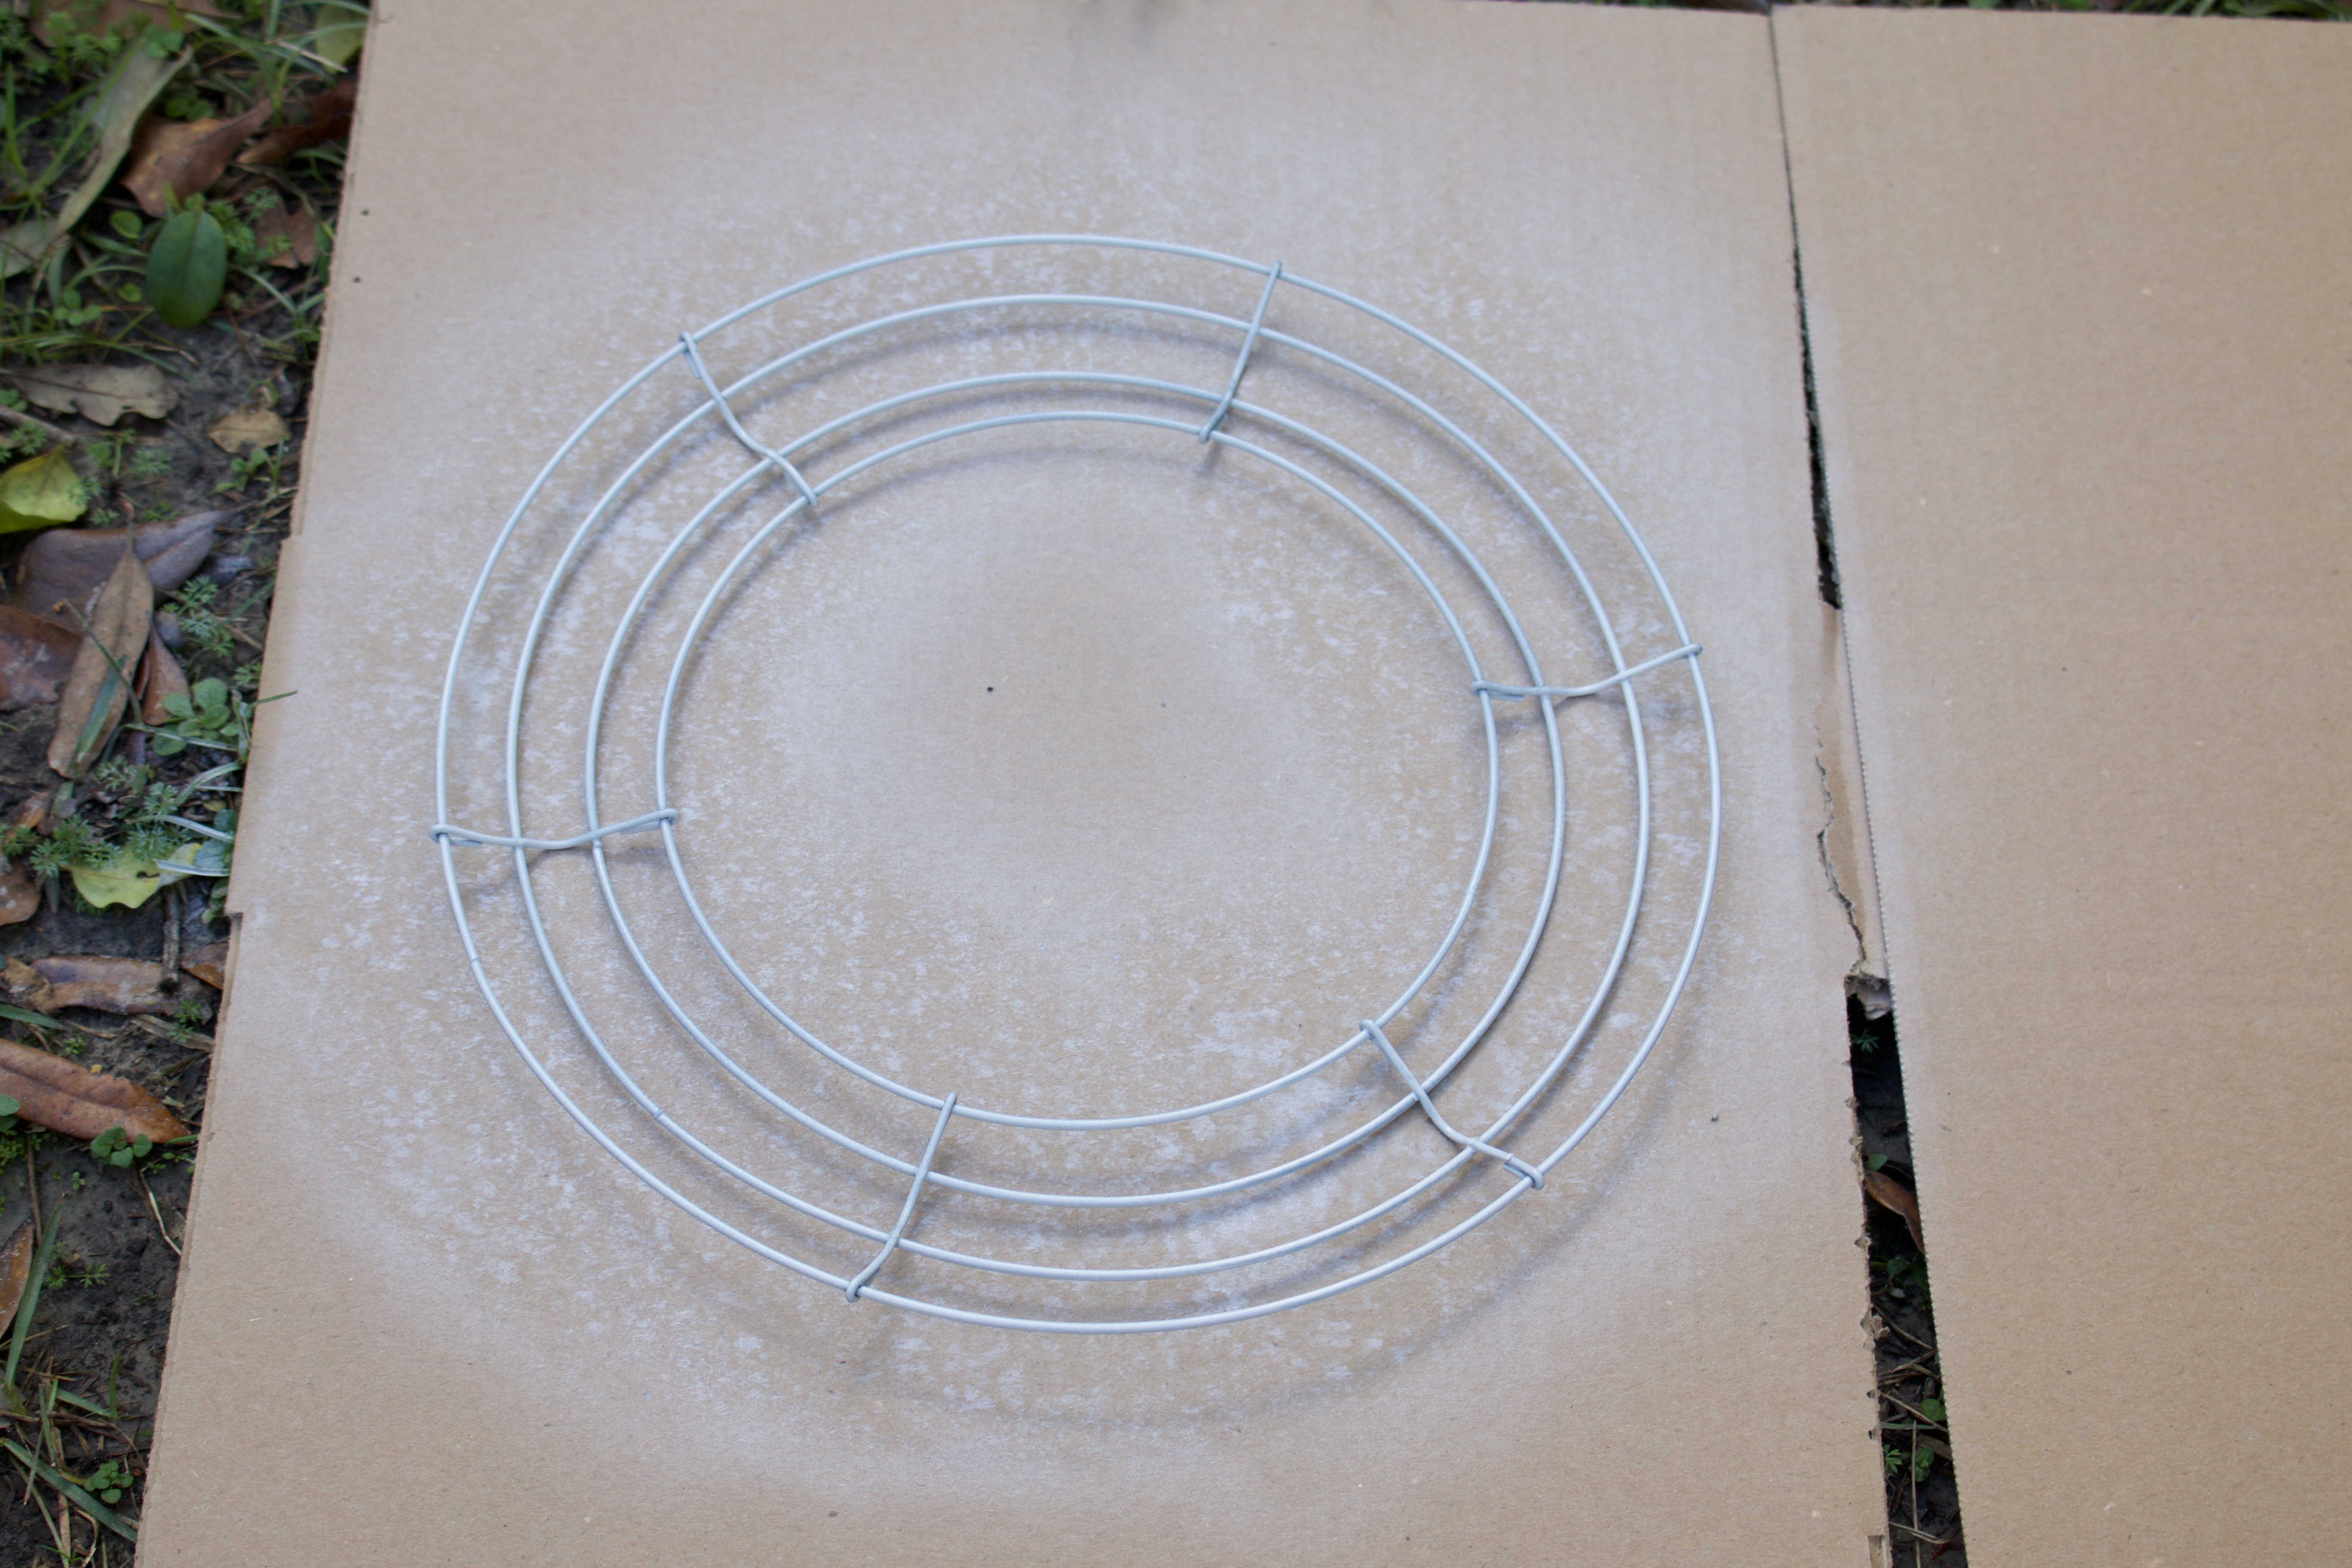
Spray stuff! I suggest working outside and laying down some cardboard so you can chuck your items on it and spray to your heart’s content. Your wire wreath will be green so spray both sides with your Krylon Ivory spray paint so the green doesn’t peek through.
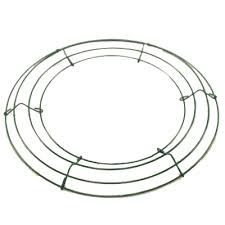
Wire Wreath: Before
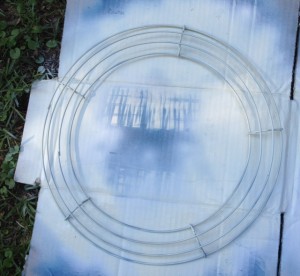
Wire Wreath: After
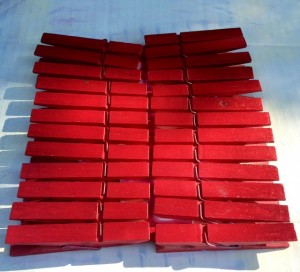
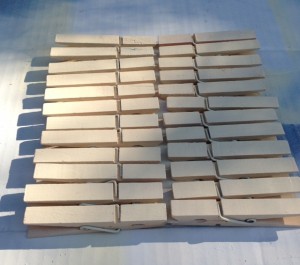
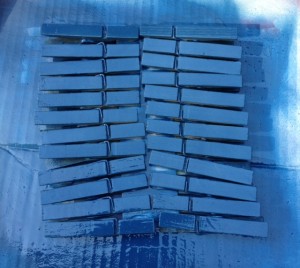
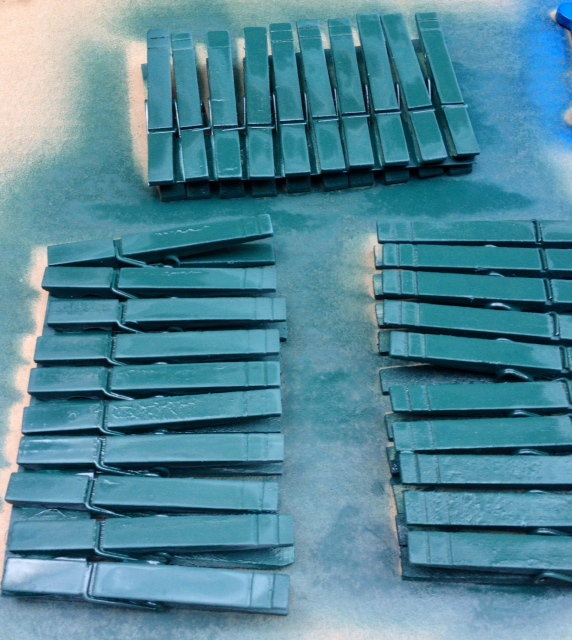
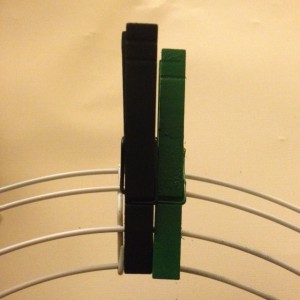
Spray Paint Clothespins: You’ll need 25 red, 25 white, and 20 blue clothespins. Since not every wire wreath and clothespin is identical, the total number needed might be off by one or two clothespins so I suggest making two extra blue just in case. The clothespins come pre-clipped to a piece of cardboard so I left them attached and sprayed the uglier of the two sides first, let dry, gave it another quick coat, let dry again, then sprayed the prettier side with 3-4 coats, drying in between. The drying time is short so it’s really not that time consuming and when you have your assembly line of red, white, and blue clothespins it’s pretty quick and easy. Be sure you spray at various angles to get the sides and crevices nice and coated.
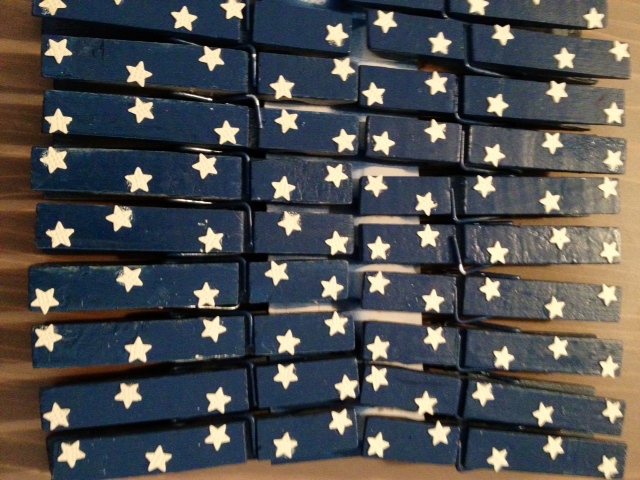
Punch Stars: Using your Fiskers start punch, punch out 100 stars out of your cardstock (5 stars for each of the 20 blue clothespins).


Using the gel super glue, glue your stars onto your blue clothespins. I did 5 per clothespin, alternating each one.

I really like Loctite ’cause it’s a gel and less messy and it has comfort squeeze sides on it.

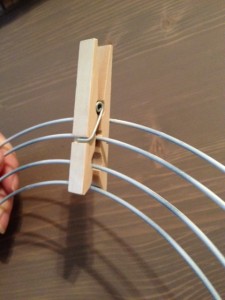
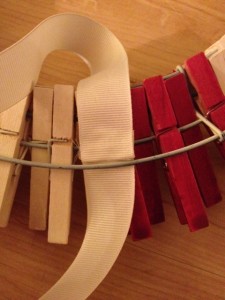
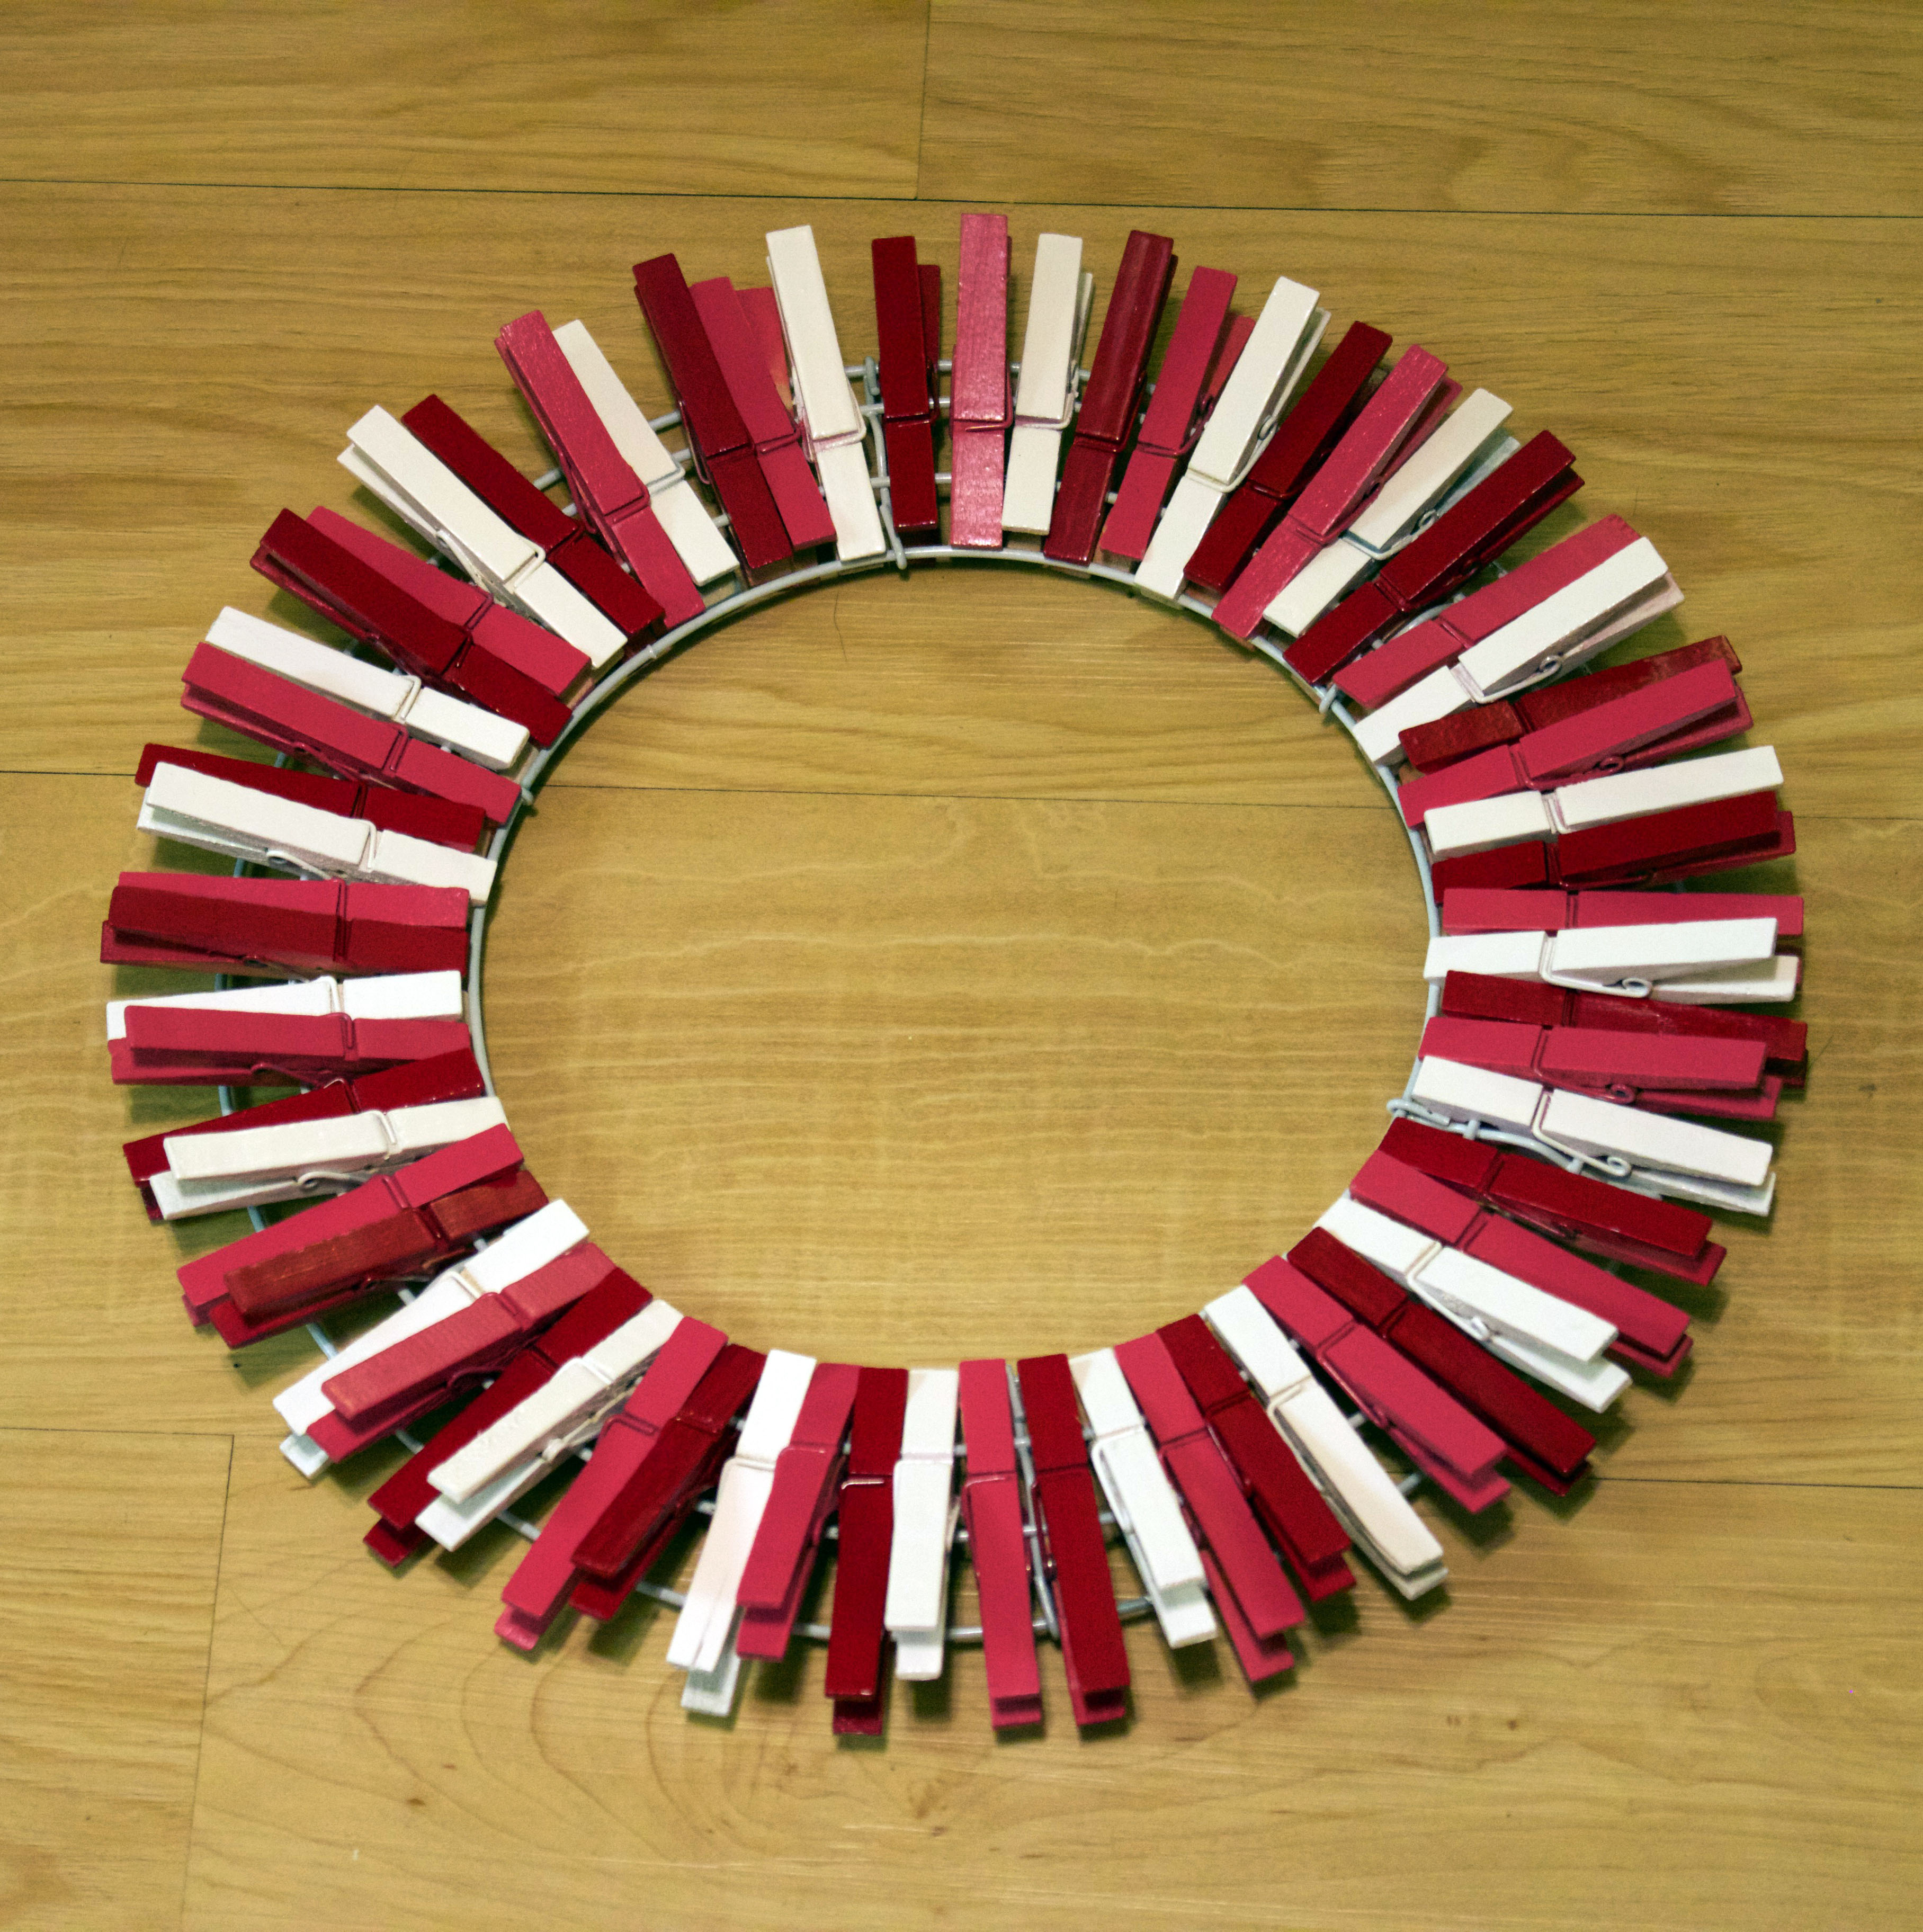
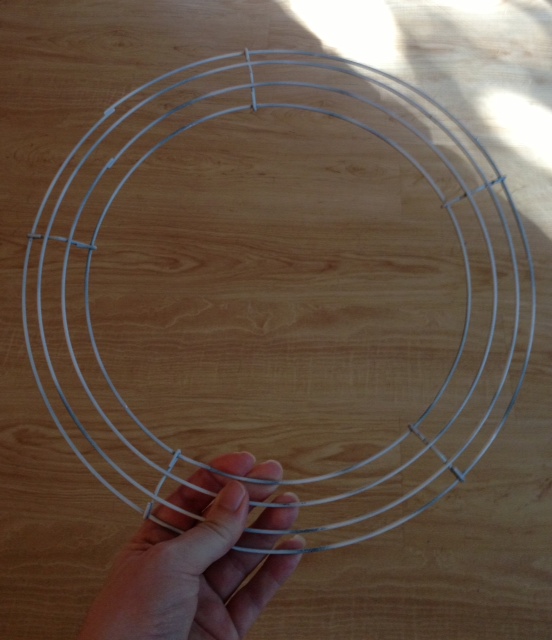
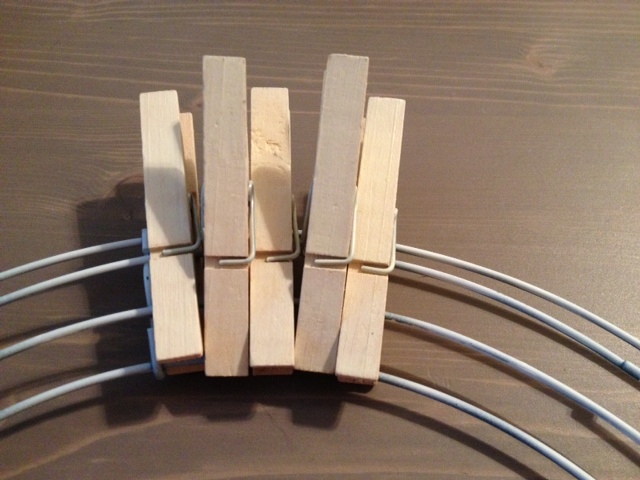
Assembly Time: Now that your clothespins are ready, it’s time to put it all together. You’ll notice that your wreath is basically four rings. You’ll be attached to the center two rings which I’ll call #2 and #3 from top to bottom.

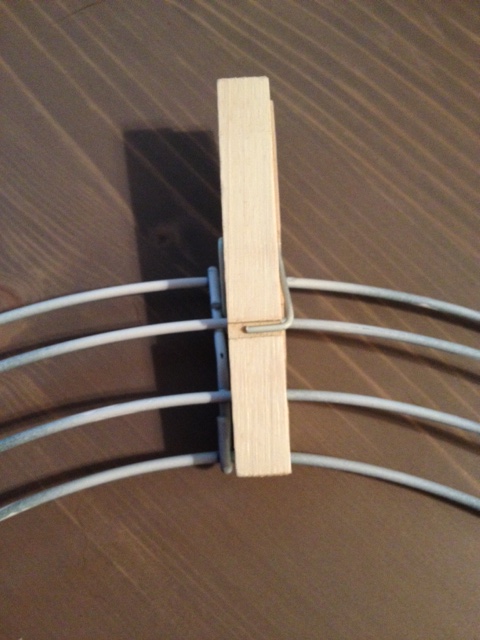
Pick a starting point (See above picture and start top and center and move to the right of the wire divider.) and pick either red or white to start with. If you start with red then you’ll end up with white or visa-versa so it doesn’t really matter. If you look at the four rings from top down, clip your first clothespin to the 2nd ring.

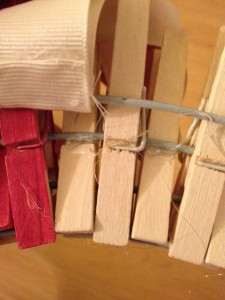
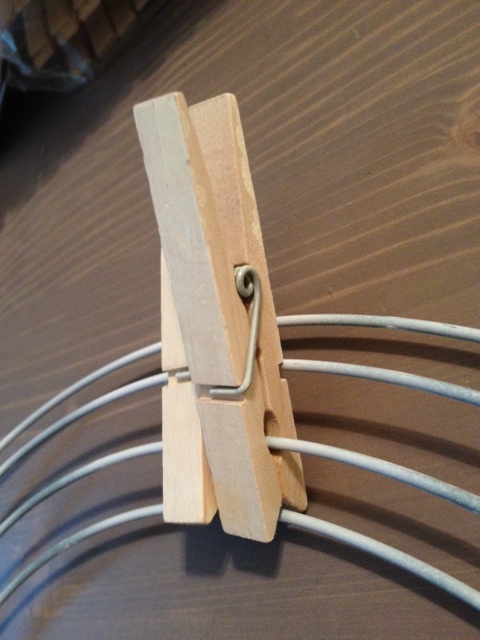
With your second clothespin, clip it to the 3rd ring.


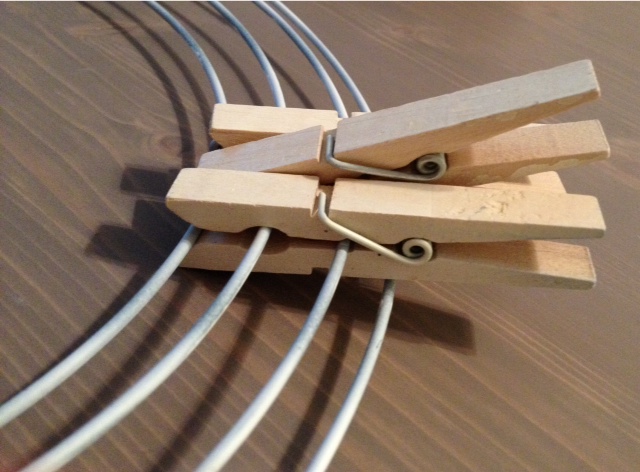
With the third, you’ll clip to the 2nd ring again and keep on alternating until you have 5 white clothespins clipped.


Now it’s time to swap colors. Keep alternating rings and colors until you’ve clipped all 25 red and white clothespins. Finish by clipping the starred blue clothespins for the last section.
Add Ribbon: Cut a 17″ piece of ribbon and glue or tie around the back wire part of the wreath.
Hot Glue Time: It’s time for gluing! Work from the back and glue any loose clothespins to the back wire part of the wreath or in between the clothespins themselves, just to secure them on to the wire wreath.
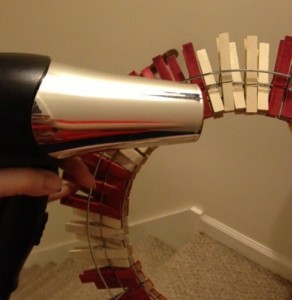
Helpful Tip: See those nasty glue gun cobwebs? A very quick and easy way to get rid of them is to blue dry them away. Take your hair dryer and apply heat to any offending cobweb and it will shrink back up, essentially disappearing. Just be careful not to apply too much heat or it could remelt the glue you want to stay stuck. 🙂
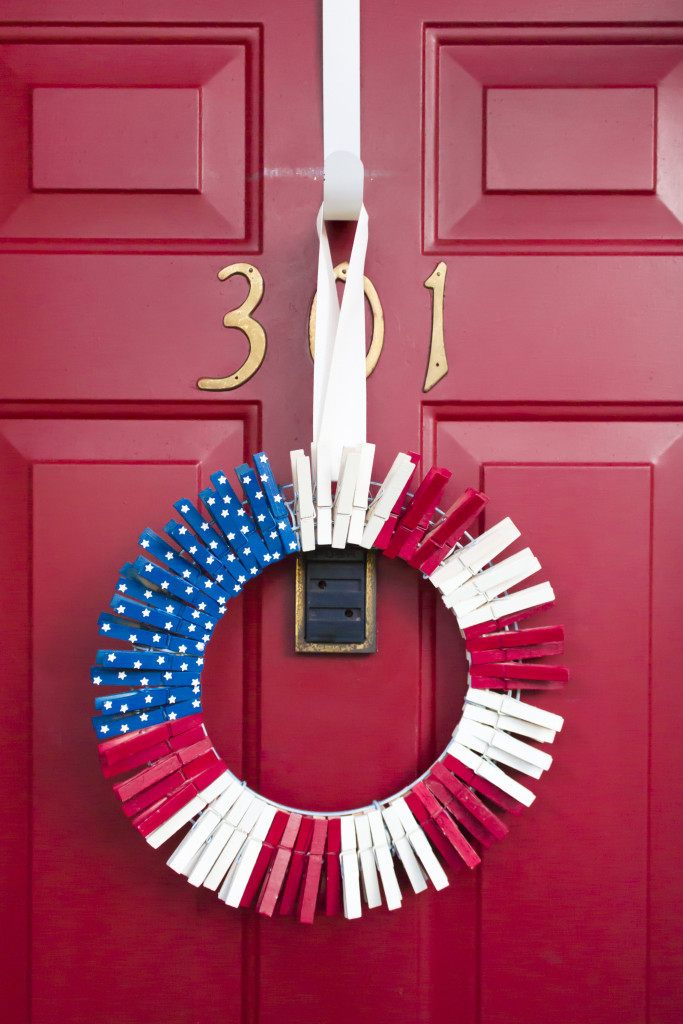
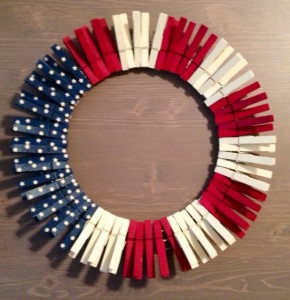
All finished! Just hang indoors or outdoors and you’re ready for the 4th of July!


