Tag Archive | holidays

Valentine’s Day Clothespin Wreath

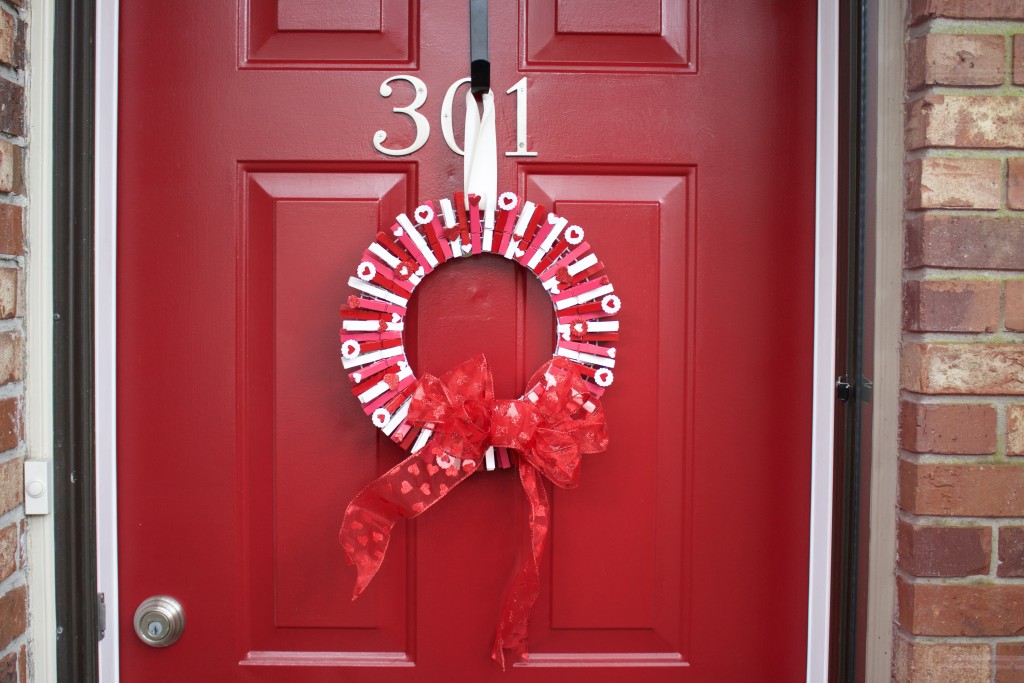
closeupI’ve really had a blast making these cute clothespin wreaths. It’s an easy-to-follow “recipe”, allows for tons of creativity, and is a really inexpensive craft. In case you missed them, I also have a patriotic 4th of July version and a Christmas version if you want to check those crafts out. Even in the dead of winter, my 4th of July wreath is one of my most popular blogs posts and a lot of readers write in to request other ideas so I thought I’d share my latest version, just in time for Valentine’s Day.

indoor

What you’ll need:

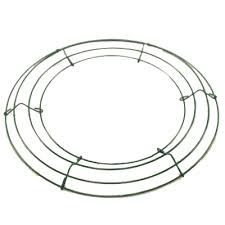
  • 12″ Wire Wreath. These are sold in the florist section of any craft store or most Walmarts for around $3. You can also buy them on Amazon.
  • 75 Clothespins (you’ll use 69 but I spray up 75 to have extra to choose the best from). I found Walmart was the cheapest at $1.98 for a pack of 100.
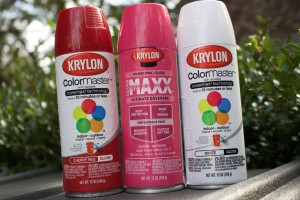
  • Pink, white, and red spray paint. I went with Krylon Indoor/Outdoor since I wanted something to hang outside. I also went with high gloss but you can do whichever you like. My colors were Cherry Red, White, and Oxford Blue, all in Krylon Satin. They cost about $3.50 a can at Walmart. You’ll have a ton left over so keep that in mind for future projects or if you want to make extra for gifts.
  • Valentine’s Day decorations. This is where your creativity can really come out. I picked up some cute sparkly heart stickers from Michael’s that came in sparkly pink, red, and white. The pink didn’t quite work so I just used the white and red but you can really go nuts on the decoration. Walmart, Target, and even Dollar Tree each carry cute Valentine’s items that would be great to use. You can also opt to not add anything to the painted clothespins.
  • Hot glue gun & hot glue
  • Ribbon to hang the wreath
  • Premade bow or buy ribbon to make your own. Pick whatever bow or ribbon to make a bow that you like. I fell in love with this sparkly heart ribbon and made my own bow but Michael’s also has lots of adorable pre-made bows if you don’t want to go to the trouble.

Directions:

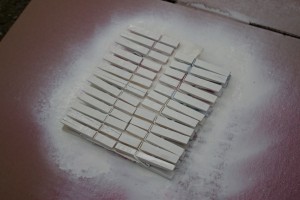
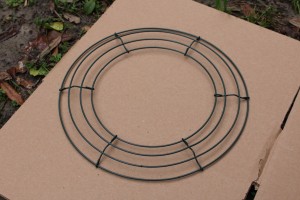
Spraying time! I suggest working outside and laying down some cardboard so you can chuck your items on it and spray to your heart’s content. Your wire wreath will be green so spray both sides with your Krylon white spray paint so the green doesn’t peek through.

Wire wreath


white wreath

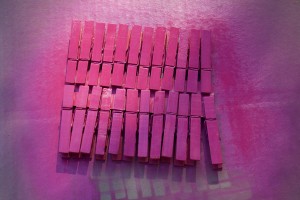
Spray Paint Clothespins: You’ll need 23 red, 23 white, and 23 pink clothespins. FYI, not every wire wreath and clothespin measurement is identical so the total number needed might be off so I always spray 25 of each so I have a few extra. If you have a gap or the count was off a bit you can always hide it with the bow. 🙂

Krylon paints

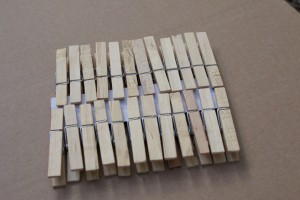
plain clothespins

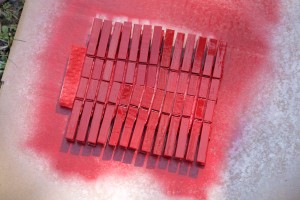
The clothespins come pre-clipped to a piece of cardboard so I left them attached and sprayed the uglier of the two sides first, let dry, gave it another quick coat, let dry again, then sprayed the prettier side with 3-4 coats, drying in between. The drying time is short so it’s really not that time consuming and when you have your assembly line of red, white, and pink clothespins side-by-side it’s pretty quick and easy. Be sure you spray at various angles to get the sides and crevices nice and coated. And avoid spraying paint into your open mouth like I did. Let everything dry completely before assembling.

red clothespins

clothespins

pink clothespins

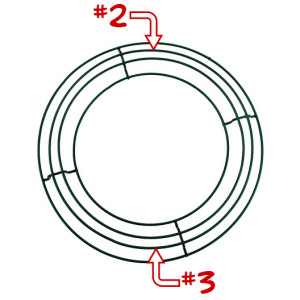
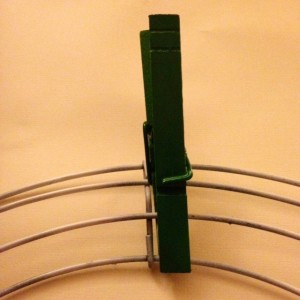
Assembly Time: Now that your clothespins and wire wreath are ready, it’s time to put it all together. You’ll notice that your wreath is basically four rings. You’ll be attached to the center two rings which I’ll call #2 and #3 from top to bottom.

wreath with numbers

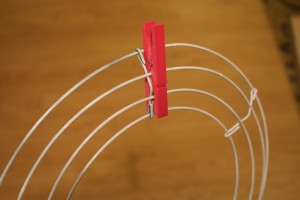
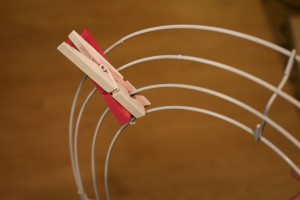
Pick a starting point (See above picture and start top and center and move to the right of the wire divider.) and pick one color to start with. If you look at the four rings from top down, clip your first clothespin to the 2nd ring.

first clothespins

first clothespins

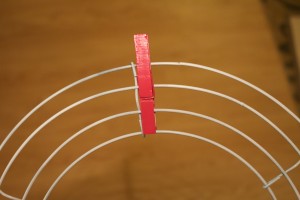
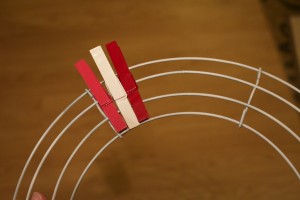
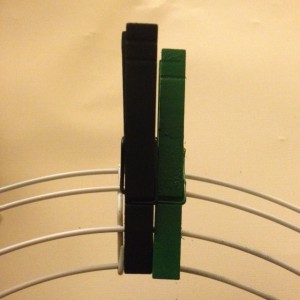
With your second clothespin, clip it to the 3rd ring.

2nd ring

With the third, you’ll clip to the 2nd ring again and keep on alternating all the way around the wreath.

three clothespins

wreath

Add Ribbon: Cut a 17″ piece of ribbon and glue or tie around the back wire part of the wreath.

Hot Glue Time: It’s time for gluing! Work from the back and glue any loose clothespins to the back wire part of the wreath or in between the clothespins themselves, just to secure them on to the wire wreath.

Add Decorations: Glue your various Valentine’s Day decorations to the top, bottom, and middle parts of the clothespins. You can also leave decorations off completely or go nuts like I did.

Helpful Tip: See those nasty glue gun cobwebs? A very quick and easy way to get rid of them is to blow dry them away. Take your hair dryer and apply heat to any offending cobweb and it will shrink back up, essentially disappearing. Just be careful not to apply too much heat or it could remelt the glue you want to stay stuck. :)

Attach Bow: Finish by gluing or tying on your bow to the bottom of the wreath.

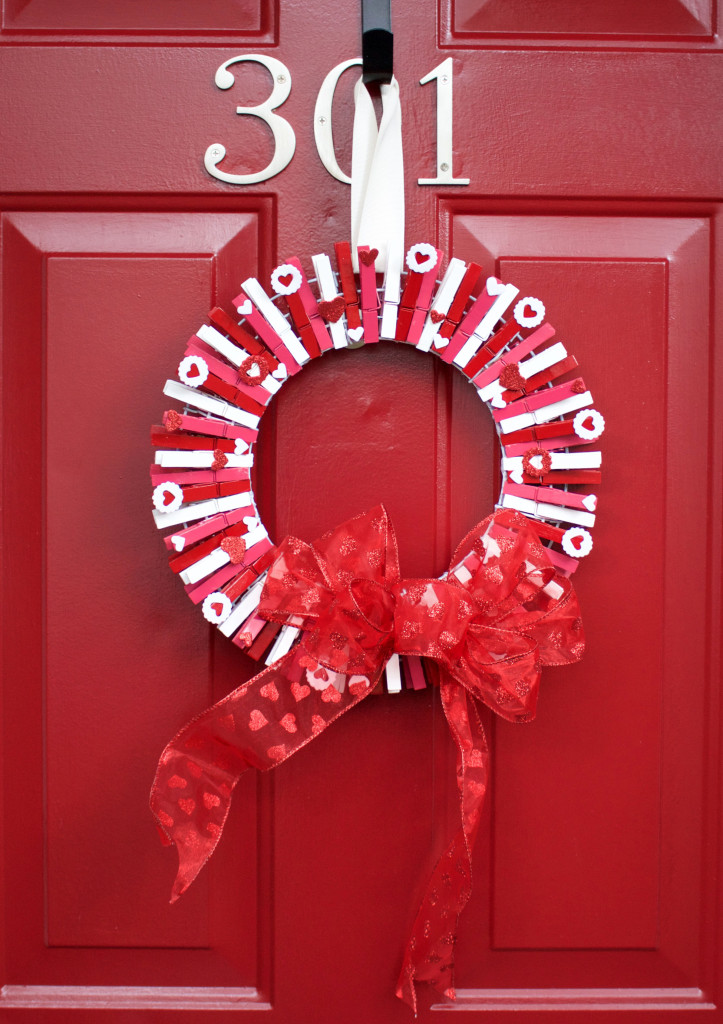
All finished! Just hang indoors or outdoors and you’re ready for Valentine’s Day! I hope you enjoy and if you end up making this wreath and want to share a picture, feel free to send me a private message with a picture or email me at missbutterbean(at)gmail.com. Happy Valentine’s Day and lots of love!
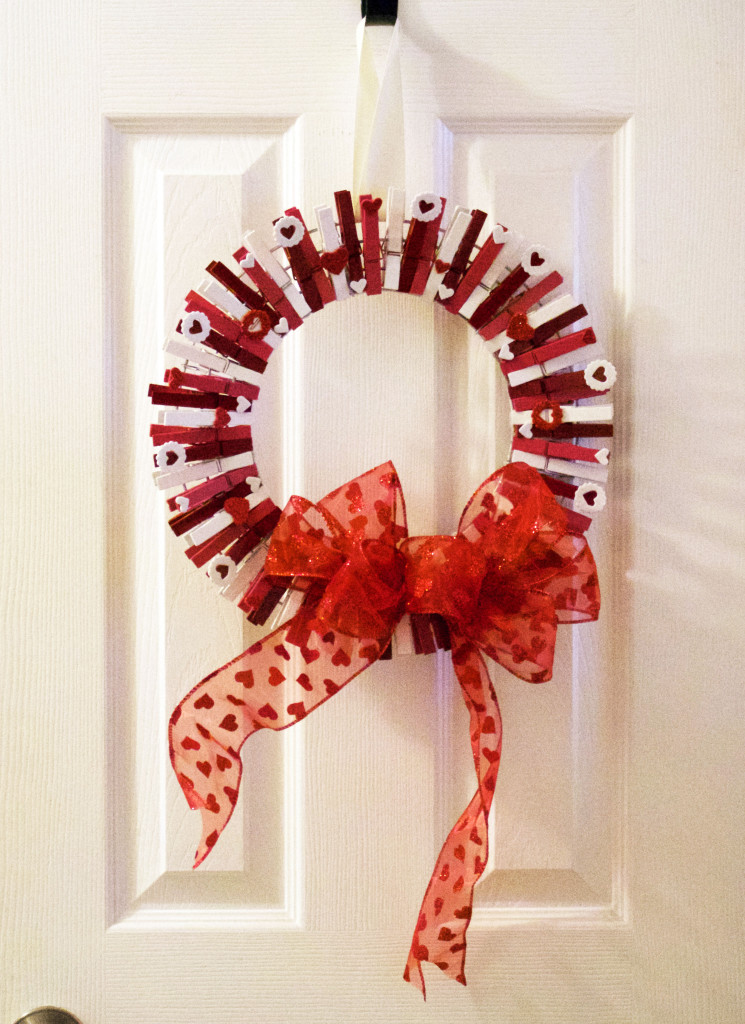
front door

Christmas Clothespin Wreath

1538829_10151939426903101_1909289469_nAfter falling in love with my 4th of July Clothespin Wreath, I really wanted to do a Christmas one for the holidays. This one was so much fun to make and I’m so happy with how it turned out! Since I’m a visual learner, I took lots of snaps of each step to help you along the way. Here’s how to make your own Christmas holiday wreath.

What you’ll need:

  • 12″ Wire Wreath. These are sold in the florist section of any craft store for less than $3 or you can pick up on Amazon.
  • 70 Clothespins (give or take one or two). Walmart and Target both sell packs of 50 but I prefer the Target brand clothespins which are much better quality and they are also a bit longer. Packs of 50 are sold at Target for $1.79 or at Walmart for $1.
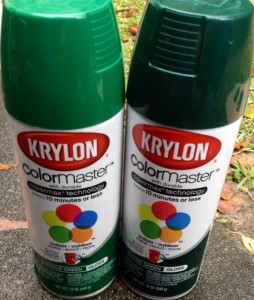
  • Emerald Green & Hunter Green spray paint. I went with Krylon Indoor/Outdoor since I wanted something to hang outside. I went with two shades of green instead of one to make it look like a real fir or holly wreath and give it that depth of color. I went with emerald green and hunter green in Krylon Gloss. They cost about $3.50 a can at Walmart. You’ll have a ton left over so keep that in mind for future projects or you can always plan on making an extra wreath to give as a gift. 🙂
  • Decorative glitter balls. I found a bag of cute decorative container glitter balls (picture of bag below) for $7.99 at Michaels. The center is foam so it made it very easy to glue onto the wreath and didn’t weigh it down. You could also use little red beads, fake red holly berries, or mini glass ornaments. Another cute idea is to use those fake large Christmas lights and glue all over. You can definitely have fun with the decoration!
  • Premade Christmas bow or buy ribbon and make your own. Pick whatever bow or ribbon to make a bow that you like. I fell in love with this gold crinkly ribbon and made my own bow but it was a tough choice because Michael’s always has so many cute Christmas ribbons in stock.
  • Red Ribbon to hang the wreath. Any ribbon will do but I picked up some pretty red satin ribbon that was about 1/2″ wide. You just want to make sure it’s thick and strong enough to hold up the wreath.
  • Hot glue gun & hot glue

Directions:

Spray painting time! I suggest working outside and laying down some cardboard so you can just throw your items on it and spray to your heart’s content. If your wire wreath is already green then no need to spray paint it but if it’s a white wire wreath then I suggest spraying it green so the white doesn’t show through.
Wire Wreath: Before

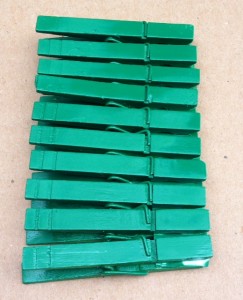
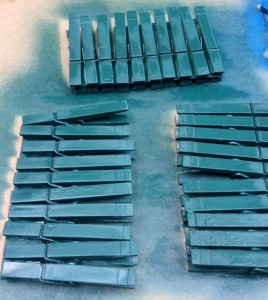
Spray Paint Clothespins: You’ll need 35 emerald green and 35 hunter green clothespins. Since not every wire wreath and clothespin is identical, the total number needed might be off by one or two clothespins so I suggest making two extra of each color just in case. The clothespins come pre-clipped to a piece of cardboard so I left them attached and sprayed the uglier of the two sides first, let dry 10 minutes or so (or until no longer tacky), gave it another quick coat, let dry another 10 minutes or so, then sprayed the prettier side with 5-6 coats, drying 10 minutes in between. What you want is for a solid colored clothespin that is nicely coated and very glossy. Be sure you rotate the clothespins and spray at various angles to get the sides and crevices nice and coated.

Krylon Paint

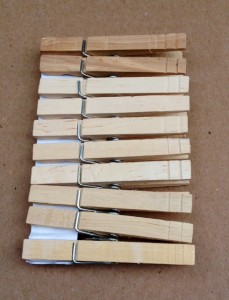
unpainted clothespins

Emerald Green CLothespins

Painted clothespins


Assembly Time: Now that your clothespins are ready, it’s time to put it all together. You’ll notice that your wreath is basically four rings. You’ll be attaching clothespins to the center two rings which I’ll call #2 and #3 if you’re looking at the wreath from top to bottom.

Pick a starting point (See below picture and start top and center and move to the right of the wire divider) and pick either emerald green or hunter green to start with. I like the look of having the emerald green toward the back and the darker hunter green toward the front but it’s up to you if you prefer to have the lighter and brighter green up front. If you look at the four rings from top down, clip your first clothespin (hunter green) to the 2nd ring.

wreath with numbers

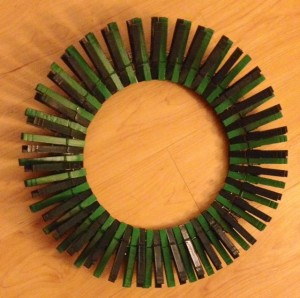
With your second clothespin (emerald green), clip it to the 3rd ring. Then keep going back and forth with hunter green on the 2nd ring and emerald green on the 3rd all the way around. You’ll go all the way around the wire wreath until you’re done.

Clothespin 1

two

pins around wreath

Add Ribbon: Cut a 17″ piece of red ribbon and hot glue or tie around the back wire part of the wreath.

Hot Glue Time: It’s time for gluing! Work from the back and glue any loose clothespins to the back wire part of the wreath or at the bottom of the clothespins themselves, just to secure them on to the wire wreath. This is especially important if you plan on hanging the wreath outside. After you’ve glued down the clothespins, it’s time to glue the decorative red glitzy balls. You can go as crazy as you want with the red balls but I chose to glue to only the hunter green clothespins and alternate with gluing one ball to the top of the clothespin and the next to the bottom and so on. You can certainly do more or less to suit your taste.
glitter balls

Helpful Tip: Notice those nasty hot glue cobwebs? A very quick and easy way to get rid of them is to blow dry them away. Take your hair dryer and apply heat to any offending cobwebs and they will shrink back up, essentially disappearing. Just be careful not to apply too much heat or it could remelt the glue you want to stay stuck. :)

Attach Bow: Finish by gluing or tying on your bow to the bottom of the wreath.

All finished! Just hang indoors or outdoors and you’re ready for Santa Claus! I hope you enjoy and if you end up making this wreath and want to share a picture, I’d love to make a cute collage on this post. Feel free to send me a private message with a picture or email me at missbutterbean(at)gmail.com. Merry Christmas!

1538829_10151939426903101_1909289469_n

Nutella Thumbprint Cookies

image_4Anything is better with Nutella, right? Well that’s certainly the case with these little tasties. A rich buttery cookie is taken straight to heaven when rolled in coconut and a lovely gem of nutella placed in the center. It’s actually a really easy cookie to whip up and oh so yummy. A great cookie recipe for holiday baking or cookie exchanges and it will quickly become a family favorite. Yummy to the max!

Nutella Thumbprint Cookies
Yields 36 cookies

  • 3 sticks (3/4 pound) butter, softened
  • 1 cup sugar
  • 1 teaspoon vanilla
  • 3 1/2 cups flour
  • 1/2 teaspoon salt
  • 1 egg beaten with 1 tablespoon water, for egg wash
  • 7 ounces sweetened flaked coconut
  • Nutella (the amount depends on how generous you are but you’ll need approximately 1/2 cup)

Directions: 

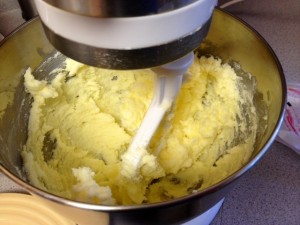
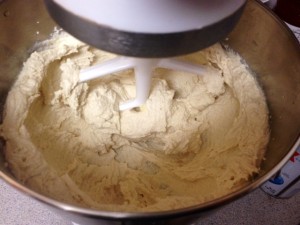
1. In a mixer, cream together the butter sugar for several minutes.

image

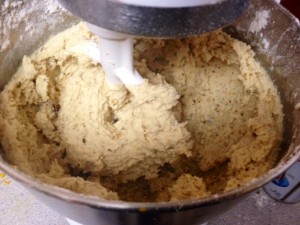
Add the vanilla and gradually add the flour and salt until well combined.

image_2

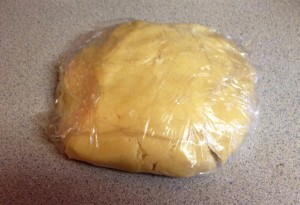
2. Transfer the dough onto a piece seran wrap, form into a large ball, and refrigerate for 30 minutes to chill. If you’re in a hurry you can also pop it in the freezer for 5-10 minutes.

Dough in seran wrap

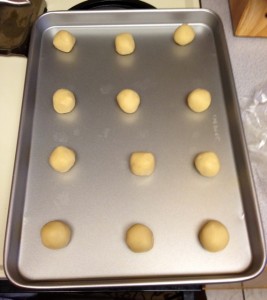
3. Preheat oven to 350°. Form the chilled dough into balls, approximately 1 1/4 inches, or weighing 1 ounce if you’re using a scale.

Rolled dough into balls

Dip the balls into the egg wash, roll in flaked coconut, and transfer to an ungreased cookie sheet. Use your finger or thumb to form an indentation in the dough for filling with Nutella. 🙂

rolled balls in coconut

Using a teaspoon, fill each indentation with about 1/4 teaspoon of Nutella.

filled with nutella

4. Bake for approximately 20-25 minutes or until the edges are a light brown and the coconut is toasted. Since all ovens vary slightly, I always recommend baking one cookie first to see what the exact time is to avoid burning an entire sheet.

baked nutella cookies

5. Transfer cookies to a wire cooling rack. Eat the cooled Nutelal Thumbprint Cookies with a glass of milk or hot cocoa. Enjoy!

Plated Cookies

Cranberry Tangerine Cookies

Plated cookiesA very fond memory I have of growing up in Germany is of baking cookies during the holidays. A popular German tradition is holiday cookie baking, where families will spend several days or even weeks preparing for the holidays by baking dozens and dozens of cookies and lining them in prepared holiday tins. When visiting friends and family you bring a box of cookies as a present and often receive one back. German cookies tend to be less sweet than a typical American cookie and often filled with fruit and nuts. This recipe for Cranberry Tangerine Cookies is inspired by the German cookies you could expect in your tin. Filled with cranberries, almonds, and tangerine, they’re the perfect bit of sweet treat you want.

Cranberry Tangerine Cookies
Yields 4 dozen cookies

Ingredients:

  • 1 cup butter, softened
  • 1 cup white sugar
  • 1/2 cup packed brown sugar
  • 1 egg
  • 1 teaspoon grated tangerine zest
  • 2 tablespoons tangerine juice
  • 1/4 teaspoon almond extract
  • 3 cups flour
  • 1/2 teaspoon baking soda
  • 1/2 teaspoon salt
  • 2 cups fresh cranberries, roughly chopped
  • 1/2 cup toasted almonds, chopped (you can also use walnuts or pecans if you prefer)

Icing

  • 1/2 teaspoon grated orange zest
  • 3 tablespoons tangerine juice
  • 1 1/2 cups confectioners’ sugar

 Directions: 

1. Preheat oven to 375°. In a large bowl, cream together butter and the brown and white sugar for several minutes.

sugar and butter creamed together

Add the egg, tangerine zest and juice, almond extract, and mix well. Gradually add the flour, baking soda, and salt until well incorporated.

dough with flour

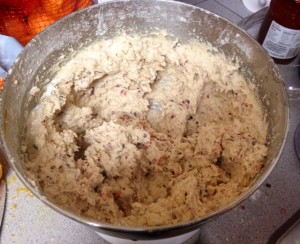
Stir in the cranberries and almonds.

dough with pecans and cranberries

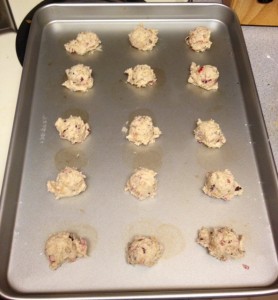
2. Using a cookie scoop or tablespoon, scoop rounded tablespoons of cookie dough on ungreased cookie sheets and bake for 12-14 minutes. Since every oven varies slightly, I always recommend you bake one cookie all by itself to see exactly how long you need. Better to accidentally ruin one cookie than an entire tray!

dough on cookie sheet


baked cookies

3. Transfer from cookie sheet to a cooling rack.

4. While cookies are cooling, mix together the ingredients for the icing.

ingredients for glaze

Using a fork or a whisk, drizzle icing over the cookies.

Iced cookies

Allow icing to set before transferring to cookie tins or eating. Enjoy!

Plated cookies

Halloween Crack

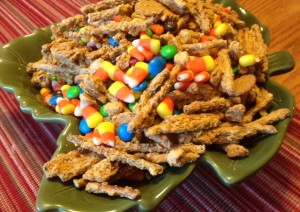
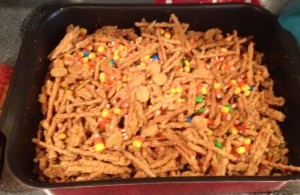
Halloween Crack platedFall is truly my favorite time of the year. With Halloween and Thanksgiving just around the corner, sweaters are pulled out of closets, apples are plucked from trees, pumpkins displayed on the front stoop, and I’m whipping up batches of Halloween Crack. Wait, what?!?! Yep, you heard me right. Okay, it’s actually a delicious party mix made of pretzels, M&M’s, peanuts, and other ingredients, all tossed in a homemade toffee concoction but it’s so decadent and addictive that it’s now better known as Halloween Crack. You’ll understand when you grab your first handful. Just trust me. This recipe was given to me by one of my Mom’s friends who used to make it for parties and it was a guarantee that anyone who tasted it had to have the recipe. This is one of those fall recipes that can’t be beat and should definitely make an appearance at your next Halloween or fall party!

Halloween Crack
Yields 16 cups

Important Note: You can swap out and adjust the ingredients to suit your taste. For example, instead of peanut butter sandwiches try using mini Oreos, instead of plain M&M’s try peanut or almond. There are lots of fun and yummy options!

  • 1 package miniature pretzels or pretzel sticks (11 oz)
  • 1 package miniature peanut butter sandwiches (8 oz)
  • 1 cup dry roasted peanuts
  • 1 cup sugar
  • ½ cup butter
  • ½ cup light corn syrup
  • 2 Tablespoons Vanilla
  • 1 teaspoon baking soda
  • 1 package plain M&M (10 oz)
  • 1 package candy corn (15 oz)

Directions: 

1. In a large bowl, mix pretzels, crackers, and peanuts. Set aside. Preheat oven to 250°.

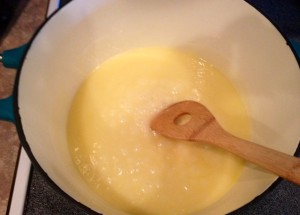
2. Using a dutch oven or a large pot with high sides, combine sugar, butter, and corn syrup. Bring to a boil over medium heat and boil for 5 minutes, stirring regularly.

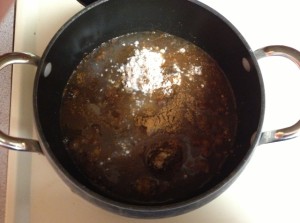
butter, corn syrup, sugar.

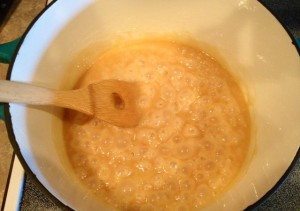
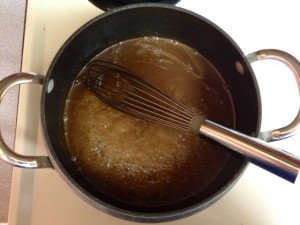
Remove from heat, stir in vanilla and baking soda. Note: The mixture will foam up, hence using a pan with high sides to prevent bubbling over. 

butter, corn syrup, sugar with vanilla and baking soda

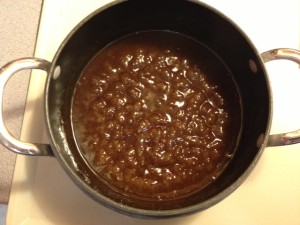
3. Pour hot mixture over the pretzels, crackers and peanuts and gently stir until coated.


Toffee over pretzels


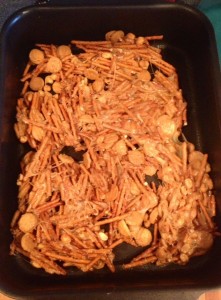
Pour onto a large greased jellyroll or roasting pan.

Pretzel mixture in baking pan

4. Bake for 40 minutes, stirring every 12 minutes. Remove from oven and, while still warm, break apart any big chunks of the mixture. Toss with M&M’s & candy corn.

Added M&M's and candy corn

Allow mixture to cool completely before serving or store in an air tight container to enjoy later.

Finished mixture in a bowl

Cinnamon & Almond Syrup

SyrupEver find yourself making pancakes or waffles only to discover you are completely out of syrup? Don’t sweat it! Making your own homemade syrup is simple, economical, and a lot tastier than the store-bought variety! I’ve been in a Christmas-ey sort of mood and this cinnamon and almond syrup makes me want to pull out my old fuzzy sweaters and curl up in front of the fire with a cup of cocoa and a good book. It’s a really simple recipe that I whip up while I’m making pancakes or waffles and any leftovers store really well. Helpful Tip: Whenever I make homemade pancakes or waffles, I double or triple the recipe so I can freeze leftovers to pop in the toaster for quick breakfasts. Drizzled with this amazing syrup, you’ll be in the best holiday mood for months to come!

Cinnamon & Almond Syrup
Makes 1 cup

  • 1/2 cup white sugar
  • 1/2 cup packed brown sugar
  • 2 tablespoons all-purpose flour
  • 1/2 teaspoon ground cinnamon
  • 1/4 teaspoon salt
  • 1 teaspoon vanilla extract
  • 1 cup water
  • 1/2 cup sliced toasted almonds

Combine all of the ingredients, except for the almonds, in a medium sauce pan.

Ingredients in pan

Bring to a rolling boil, stirring continuously.

Boiling mixture

Continue stirring for a few minutes until mixture thickens to a syrup consistency.

Thickened syrup

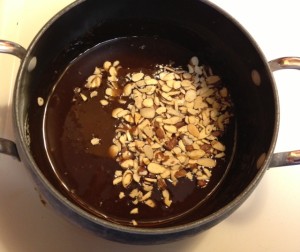
Remove from heat and add almonds.

Almonds added

Cool 5-10 minutes before serving over your favorite pancakes or waffles.

Plated waflfes

Looking for more breakfast ideas?

Copycat Cinnabon Cinnamon Bun Rolls

Cherry White Chocolate Chip Waffles

Banana Streusel Muffins

Don’t forget to subscribe to receive free recipe updates delivered right to your Inbox!

Honey-Glazed Ham

I love a honey-glazed ham over the holidays so when I see hams go on special at my supermarket I’ll scoop one up and do a mini-holiday in between Easter and Thanksgiving. Why wait? I don’t go too crazy–honey-glazed ham, mashed potatoes, and a veggie and  scrumptious Sunday dinner is served. While a pre-glazed and pre-sliced ham is nice and easy, buying a whole ham saves a lot (I paid just $10 for a 7-lb ham) and means you can stud it with cloves and make your own simple and tasty glaze. The most time-consuming part of this ham recipe is definitely studding of the cloves so if you have little ones around then this is the perfect job for them.

Helpful Tip: Whole cloves can be pricey if you look for them in the regular spices section. Check out your Hispanic or International foods section in your grocery store and you should see they are much cheaper ($2 vs. $5)!

whole finished ham

Honey-Glazed Ham

Ingredients:

  • 1 whole, fully-cooked ham (Keep in mind that ham will cook 17 minutes per pound)
  • 1/3 cup whole cloves

Honey Glaze:

  • 2/3 cup butter
  • 1 cup honey
  • 1 cup brown sugar
  • 1/4 cup lime juice
  • 1/4 teaspoon cinnamon

Preheat oven to 325°F.

Preparing the glaze:

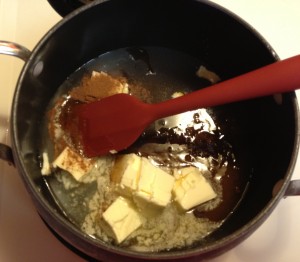
In a medium saucepan, melt the butter and add the remaining ingredients.

glaze

Bring to a boil and then reduce to a simmer while you prepare the ham.

Preparing the ham:

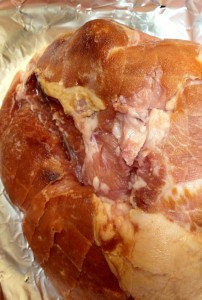
With a pairing knife, deeply score your ham with long criss-crossing stripes, at least an inch deep.

scored ham

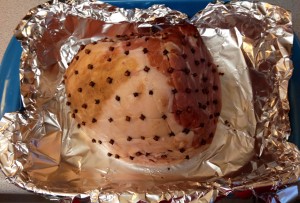
Where the points meet, stud with a whole clove, until the entire ham is covered with cloves.

cloved ham

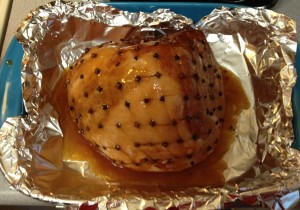
Remove glaze from heat and glaze ham liberally, reserving some to continue glazing while ham is cooking.

glazed ham

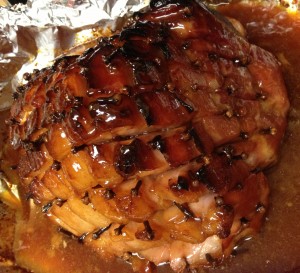
Bake in oven 17 minutes per pound, glazing every 25 minutes or so. Prior to removing the ham, turn on the broiler and broil for 3-5 minutes (keeping a very close eye!) to let the ham and glaze get nice and crispy.

whole finished ham

Remove ham from oven and rest about 10 minutes prior to serving.

Plated ham