With Spring officially here, I’ve seen so many adorable Spring and Easter holiday ideas so put together a list of my favorites to share with you all. Whether you’re looking for a kid-friendly craft, Easter Sunday recipes, or just something cute for your office potluck, you’re sure to find exactly what you’re looking for in this list!
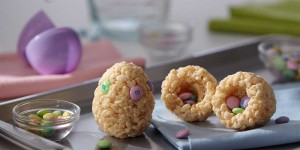
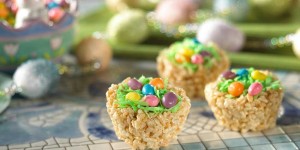
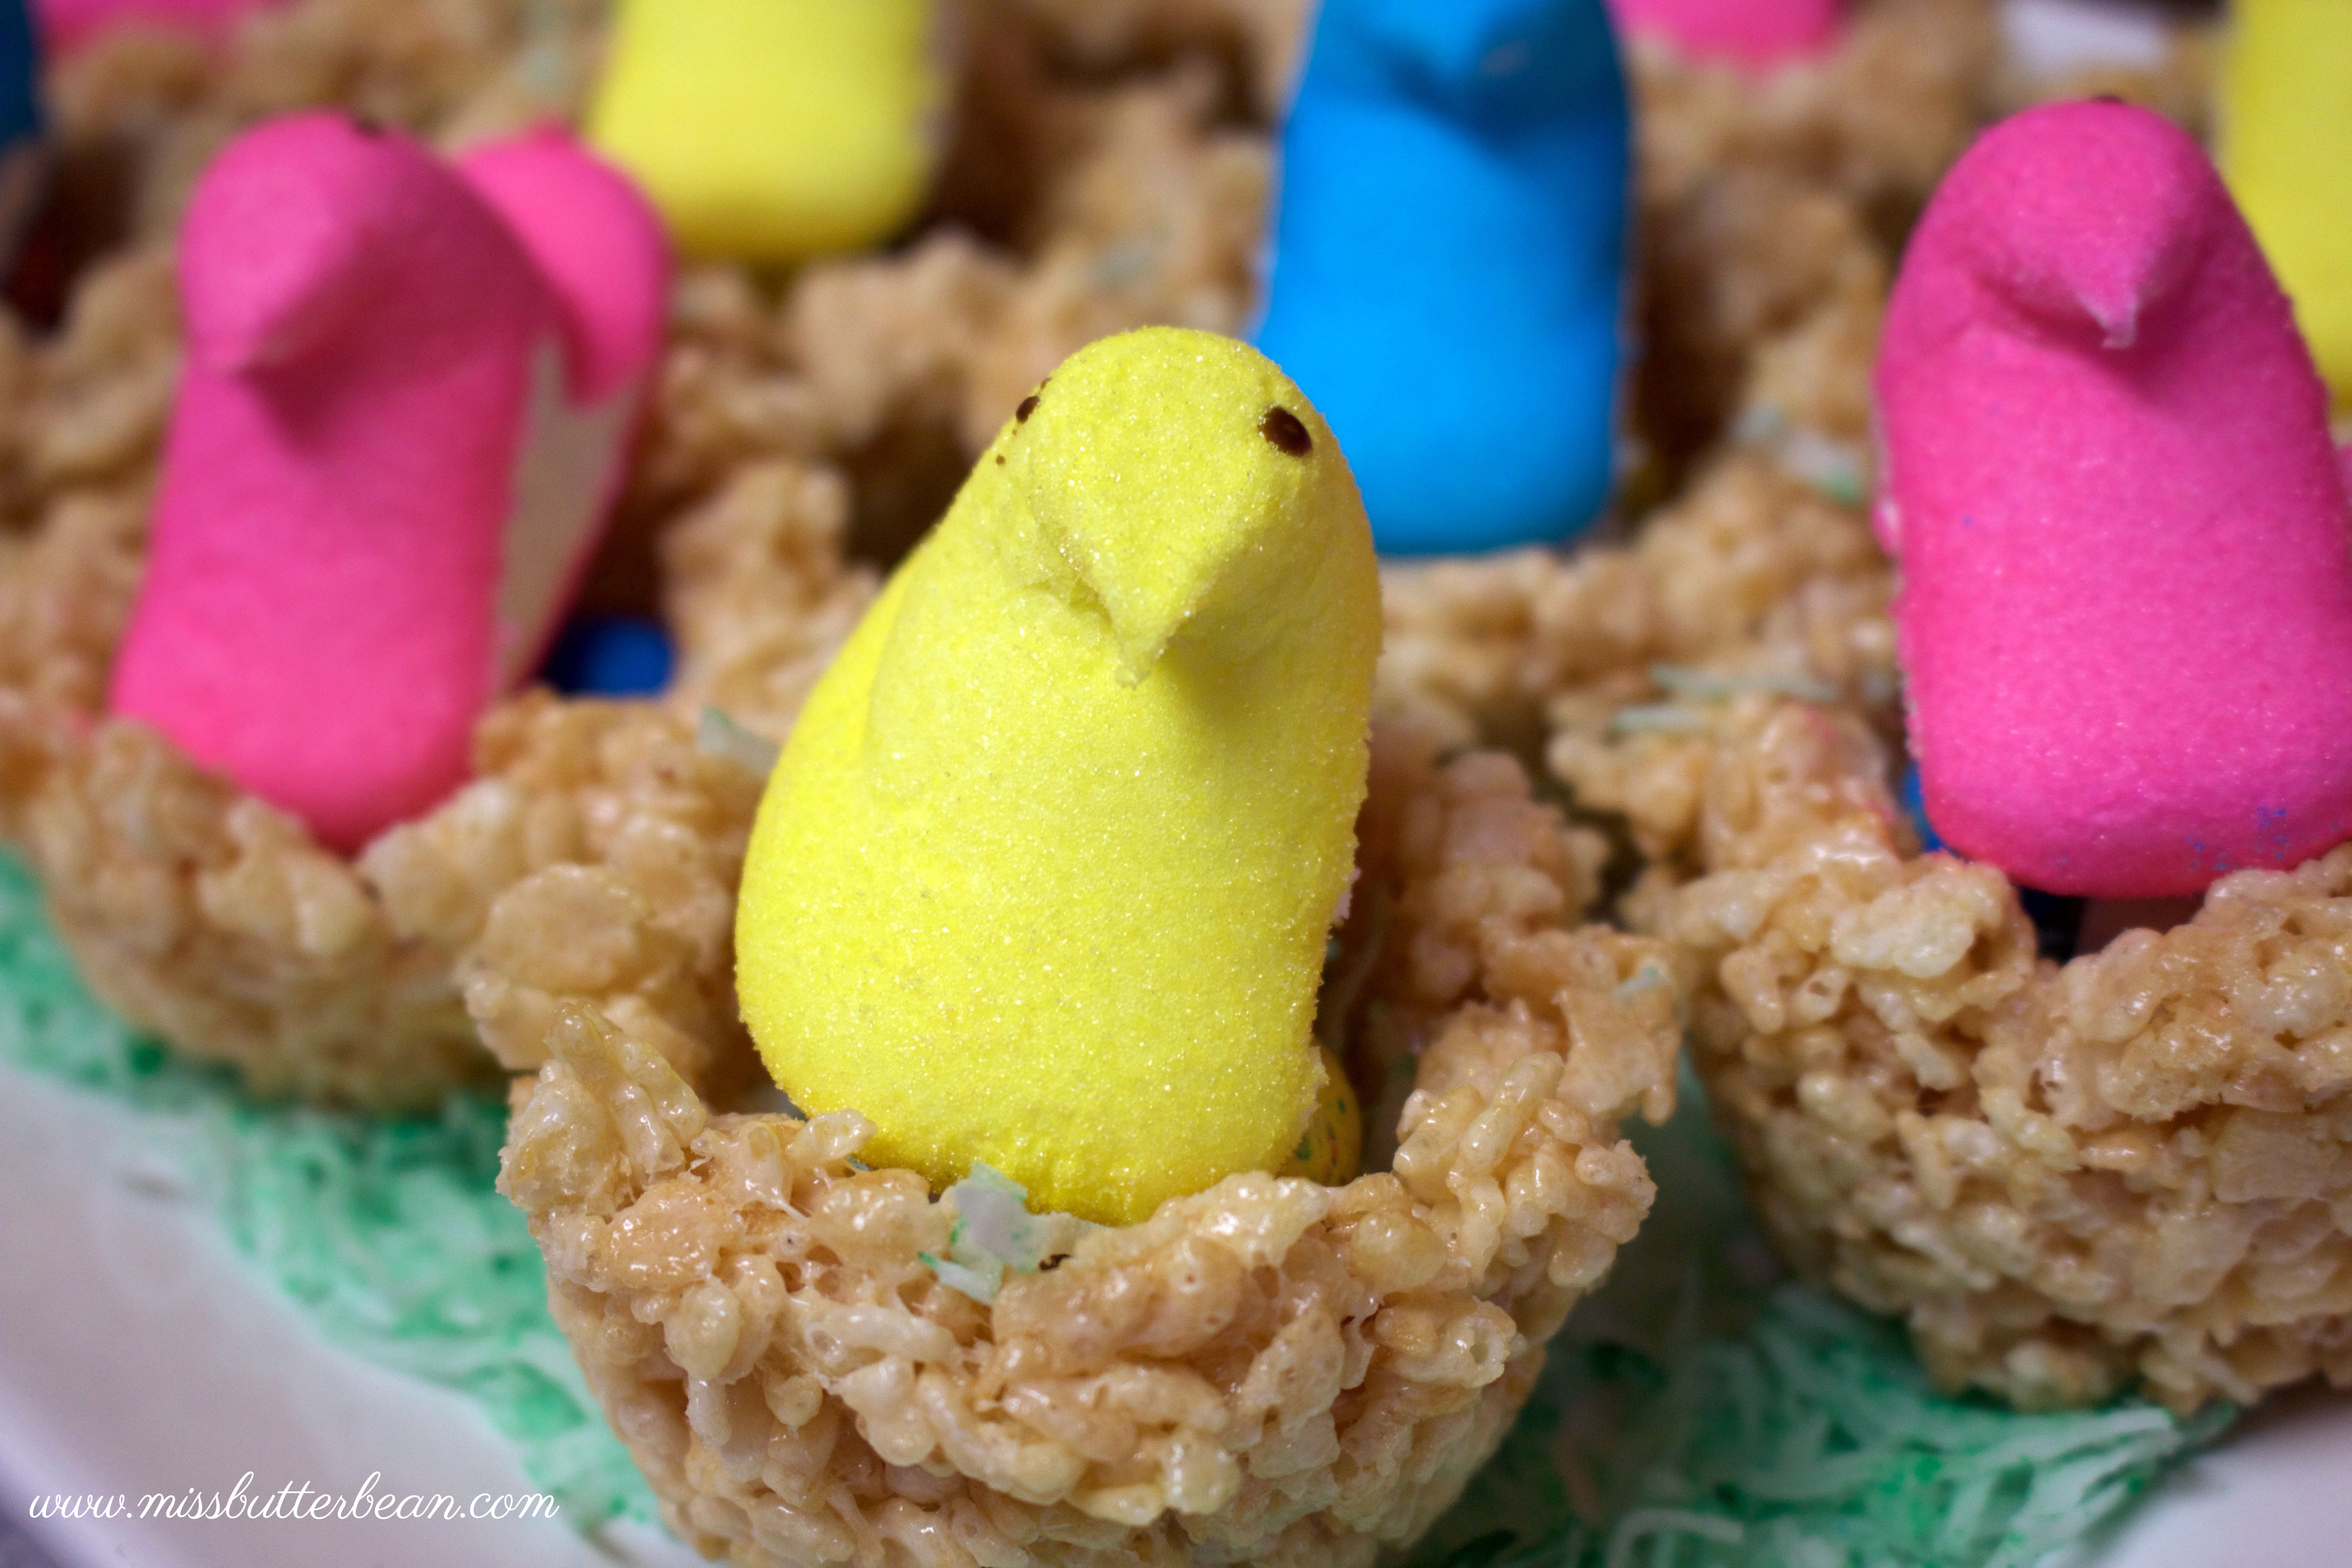
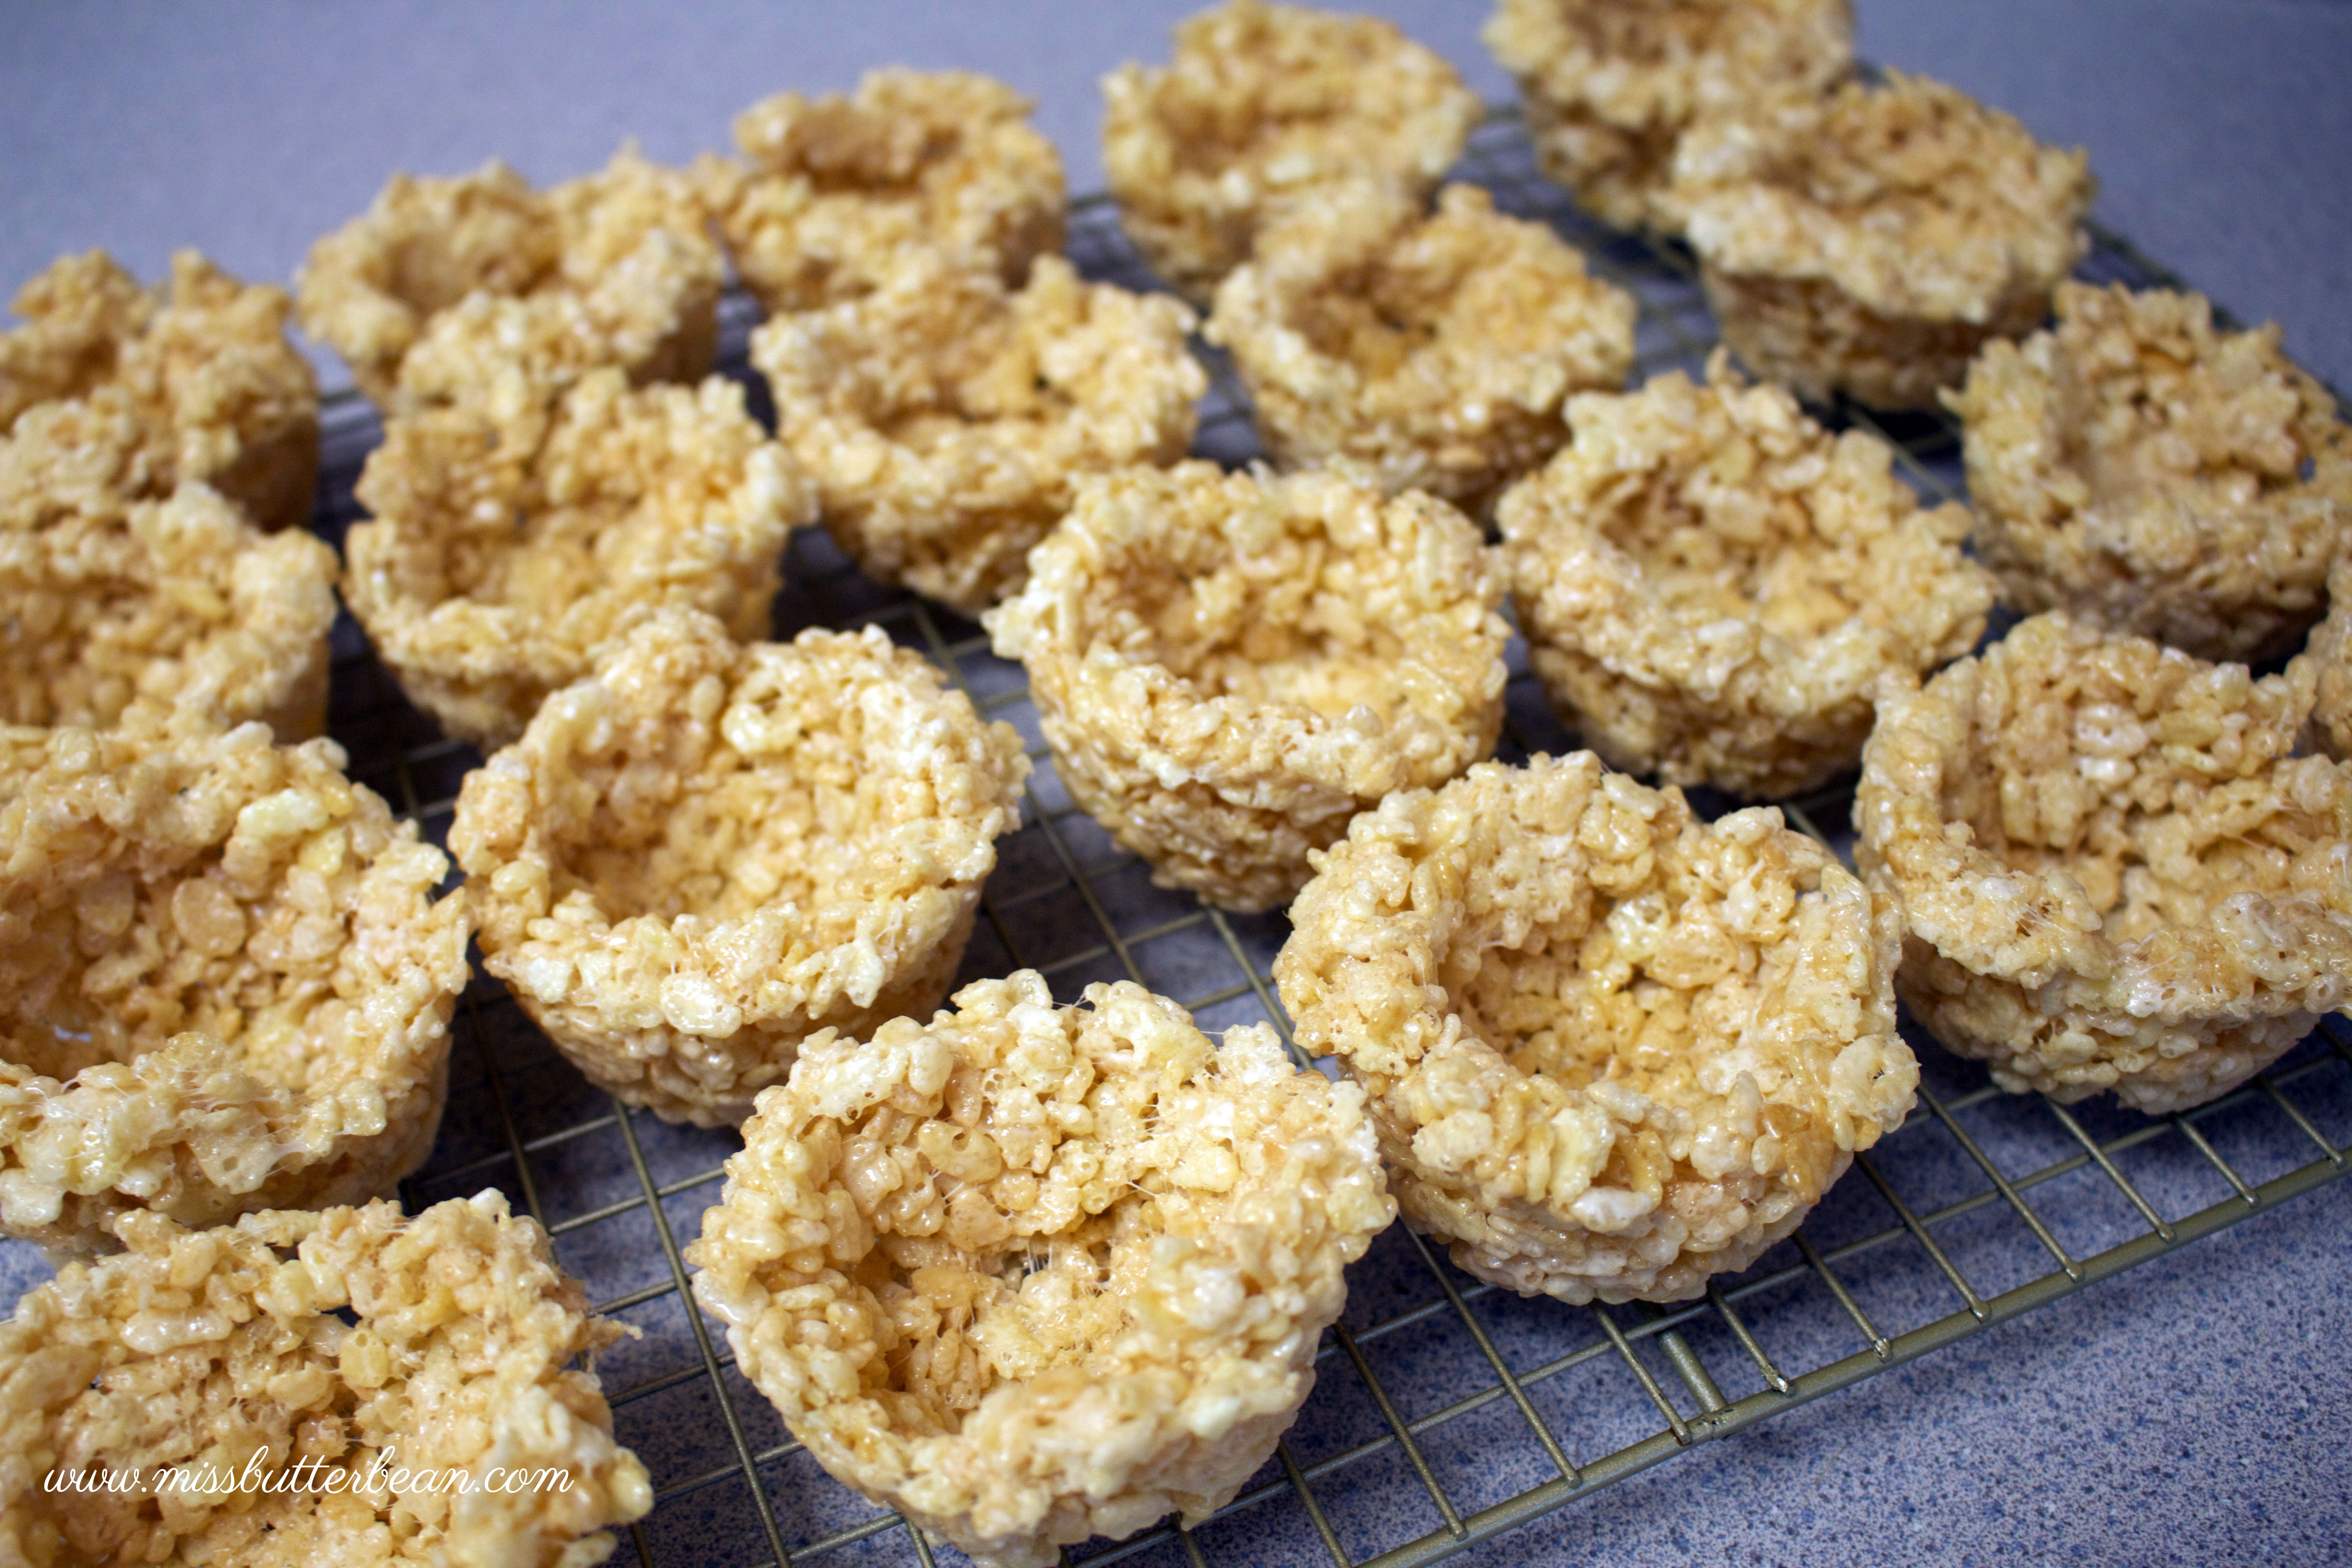
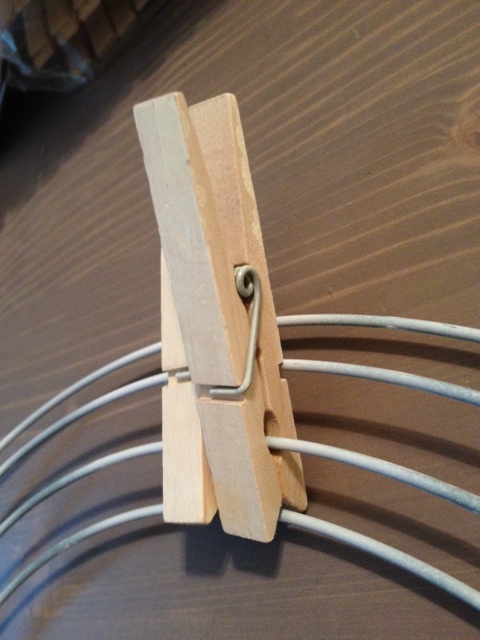
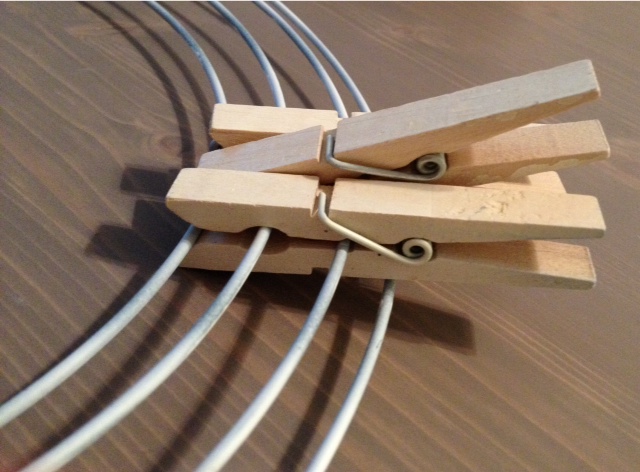
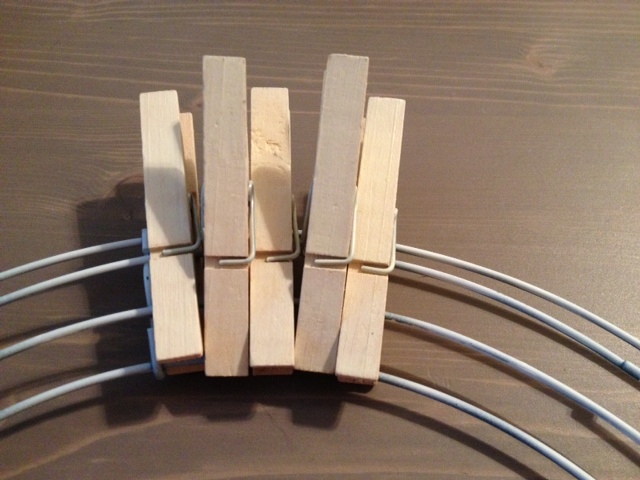
Rainbow Easter Egg Nests
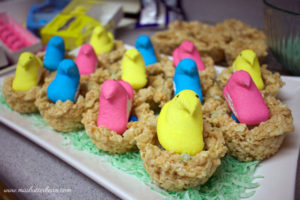
Source: Missbutterbean
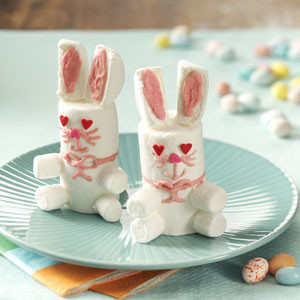
Meringue Bunnies
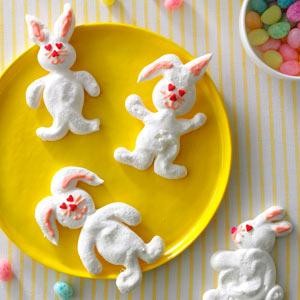
Source: Taste of Home
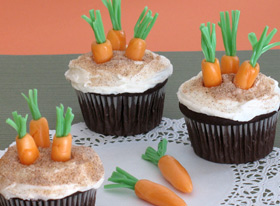
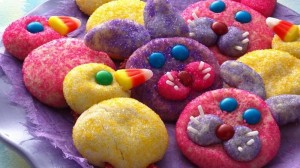
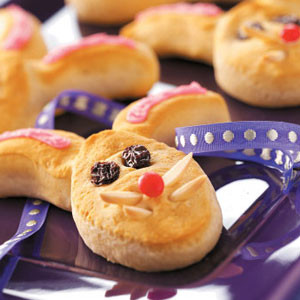
Bunny Carrot Cakes & Cookies

Source: Taste of Home
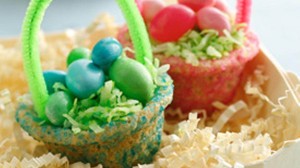
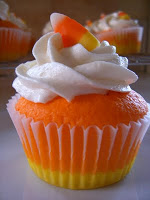
Easter Basket Cupcakes
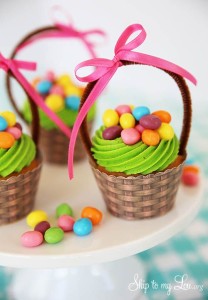
Source: Blog Lovin’
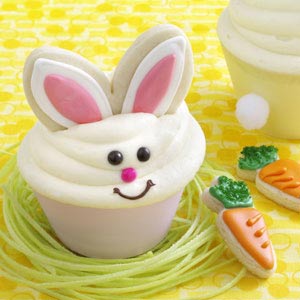
Rabbit’s Easter Cupcakes
Source: http://family.go.com/food/recipe-632897-rabbits-easter-cupcakes-t/
Little Lamb Cupcakes
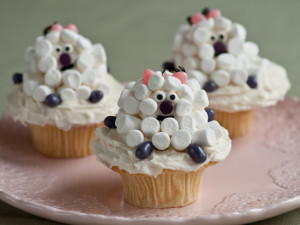
Source: http://www.foodnetwork.com/recipes/food-network-kitchens/little-lamb-cupcake-recipe.html
Floral Cake
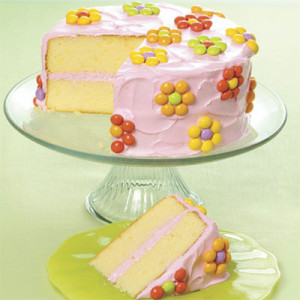
Source: http://www.delish.com/recipefinder/spring-floral-cake
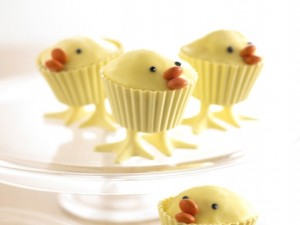
Easter Chicks Nest Cupcakes

Source: http://ruthblackphotography.com/image/easter-chick-cupcakes-2/
Carrot Cake Cupcakes
 Source: http://www.bettycrocker.com/recipes/carrot-cake-cupcakes/7013041b-b7d0-4e46-9219-9bb0516595c1
Easter Chick Cupcakes
Source: http://www.annabelkarmel.com/recipes/chick-cupcakes
Bird Nest Cupcakes

Source: http://www.gotchocolate.com/2011/04/recipe-birds-nest-easter-cupcakes/
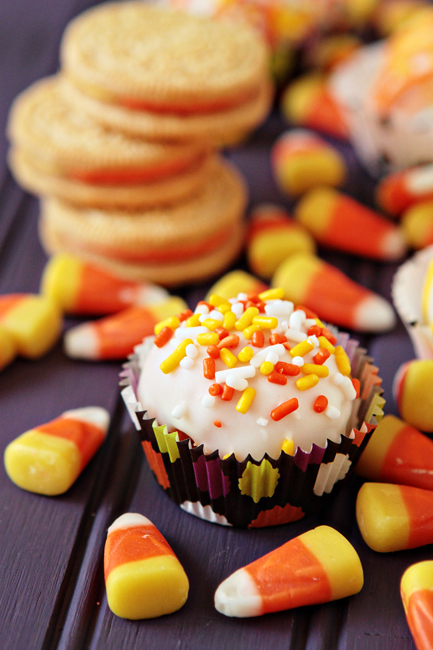
Easter Bunny Truffles

Source: http://candy.about.com/od/eastercandyrecipes/r/Easter-Bunny-Truffles.htm
Easter Egg Truffles
Source: http://easter.betterrecipes.com/cornflake-coconut-easter-egg-truffles.html
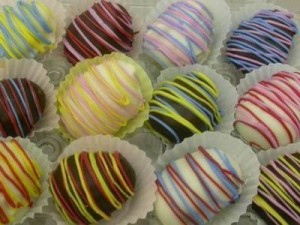
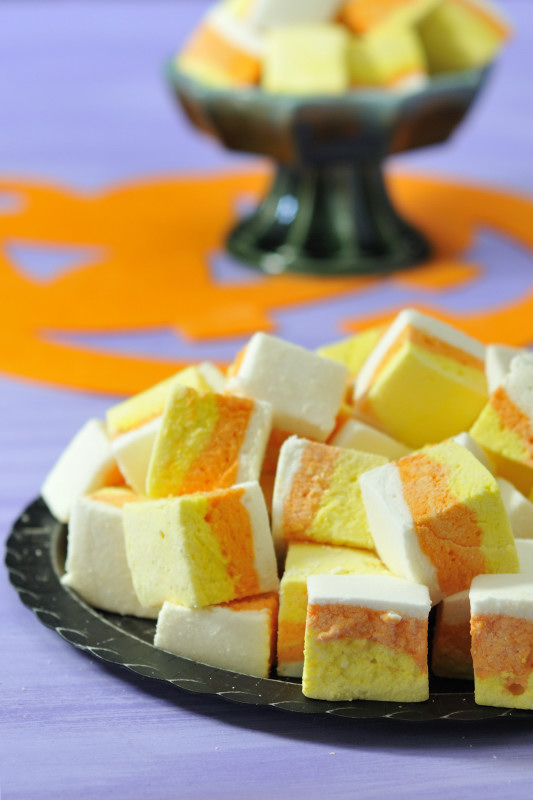
Easter Egg Marshmallow Truffles
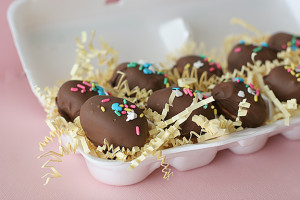
Source: http://www.tasteandtellblog.com/easter-egg-marshmallow-truffles/
Jelly Bean Bark
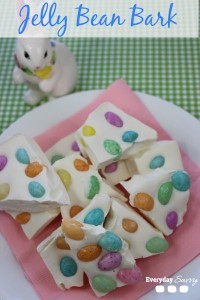
Source: http://everydaysavvy.com/jelly-bean-bark-recipe/#_a5y_p=1385728
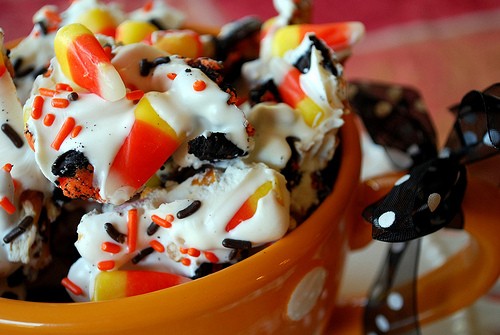
Easter Marshmallow Bark
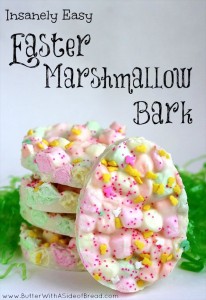
Source: http://www.butterwithasideofbread.com/2013/02/easter-marshmallow-bark.html
Easter Pretzel Chicks
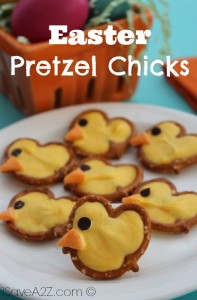
Source: http://www.isavea2z.com/easter-pretzel-chicks/
Peeps Bunny Patch Cake

Source: https://www.marshmallowpeeps.com/cookin-with-peeps/recipe-detail/peeps-bunny-patch-cake
Peeps Sunflower Cake
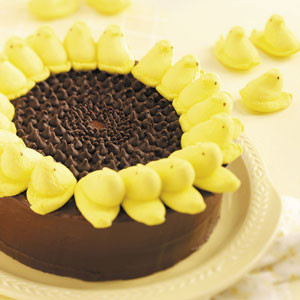
Source: http://www.tasteofhome.com/recipes/peeps-sunflower-cake
Easter Basket Cake

Source: http://www.bettycrocker.com/recipes/easter-basket-cake/0809420e-5cd6-45fd-9e90-0c159be8d598
Hidden Rainbow Easter Egg Cake
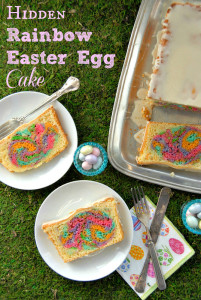
Source: http://boulderlocavore.com/2013/03/hidden-rainbow-easter-egg-cake.html
Bunny Butt Cake
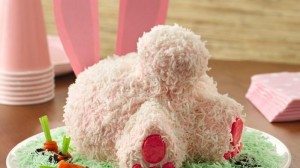
Source: http://www.bettycrocker.com/recipes/bunny-butt-cake/09cd82c8-ada0-4de7-bd85-2cd60ef67b7f
Cheesecake Carrots

Source: http://www.hungryhappenings.com/2014/03/orange-cheesecake-carrots.html
Easter Marshmallow Pops
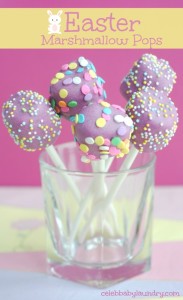
Source: http://celebbabylaundry.com/2014/03/easter-marshmallow-pops/
Almond-Butter Cookie Bouquet
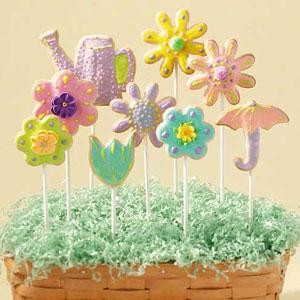
Source: http://www.tasteofhome.com/recipes/almond-butter-cookie-bouquet
Little Peeper Cookies

Source: http://www.bettycrocker.com/recipes/little-peeper-cookies/913d2091-1592-4cef-b3f2-69f40f1ce1dc
Easy Easter Cookie Pops
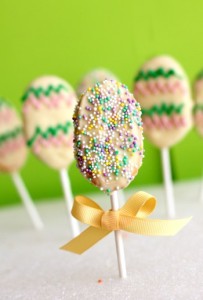
Source: http://dailycrave.wordpress.com/2012/04/03/easy-easter-cookie-pops/
Robin’s Eggs in Brownie Nests
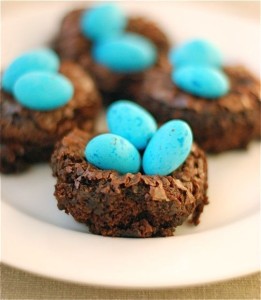
Source: http://www.babble.com/best-recipes/easter-eggs-in-brownie-nests/
Easter Nest Cookies
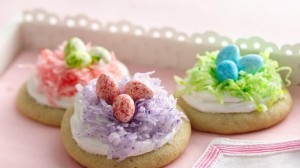
Source: http://www.bettycrocker.com/recipes/easter-nest-cookies/bc3bbf3c-d16a-4799-bc1c-5eecd08f5cf0
Easter Oreo Cookie Suckers

Source: http://www.howdoesshe.com/easter-oreo-suckers-and-apron-giveaway/
Bird Nest Cookies

Source: http://peasinapod.typepad.com/peas-in-a-pod/2011/03/birds-nest-cookies-recipe-how-to-tipjunkie-easter.html
Hidden Surprise Easter Egg Treats
Source: http://www.ricekrispies.com/recipes/hidden-surprise-easter-egg-treats
Easter Basket Cookies
Source: http://www.bettycrocker.com/recipes/easter-basket-cookies/e52af434-f444-452a-bf18-95c4cccd5202
Easter Bunny Tails
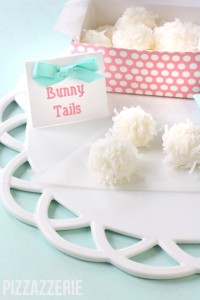
Source: http://www.keyingredient.com/recipes/322846611/easter-bunny-tails/
Easter Egg Cookies
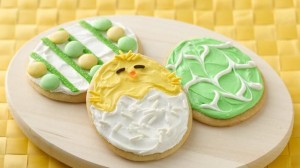
Source: http://www.bettycrocker.com/recipes/easter-egg-cookies/3d11f867-1b64-48e2-afad-f69cba4d23b4
Easter Bunny Cookies

Source: http://www.createdby-diane.com/2012/04/bunny-cookies.html
Bunny & Chick Cookies
Source: http://www.bettycrocker.com/recipes/bunny-chick-cookies/601072ee-d66c-40fb-9428-c7111709ceee
Robin’s Egg Nest Treats
Source: http://www.ricekrispies.com/recipes/robins-egg-nest-treats
Rainbow Cookies
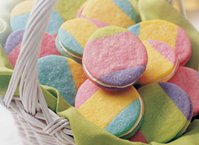
Source: http://www.bettycrocker.com/recipes/rainbow-cookies/3ab61bac-2fcc-42fc-89fe-6341deccd540
Homemade Cadbury Eggs
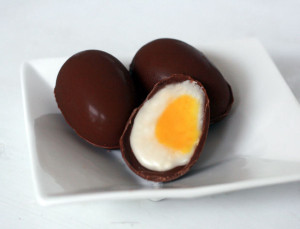
Source: http://www.instructables.com/id/Homemade-Cadbury-Creme-Eggs/
Nutter Butter Easter Chicks

Source: http://www.food.com/recipe/nutter-butter-easter-chicks-492743?soc=pinterest
Bunny Biscuits
Source: http://www.tasteofhome.com/recipes/bunny-biscuits
Easter Bunny Rolls
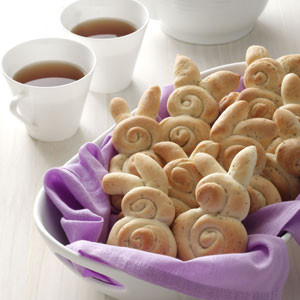
Source: http://www.tasteofhome.com/recipes/easter-bunny-rolls
Easter Bunny Treats
Source: http://www.tasteofhome.com/recipes/easter-bunny-treats
Spring Celebration Brownies
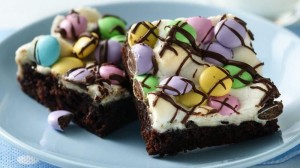
Source: http://www.bettycrocker.com/recipes/spring-celebration-brownies/317e19d7-e33d-4c99-b555-9b06a438309a
Marshmallow Chocolate Peeps

Source: http://www.raininghotcoupons.com/homemade-chocolate-peeps/
Peeps Pudding Cups
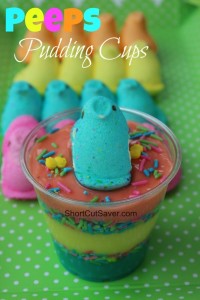
Source: http://www.shortcutsaver.com/peeps-pudding-cups/
Fruity Spring Animals
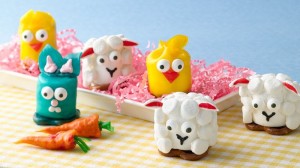
Source: http://www.bettycrocker.com/recipes/fruity-spring-animals/02959284-2462-4d4c-bdd5-56db43595953
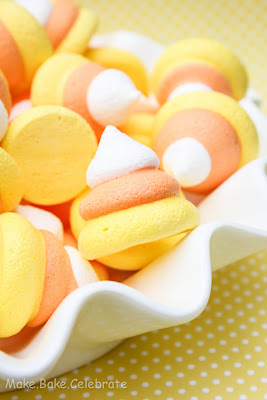
Easter Chick Sugar Spoons
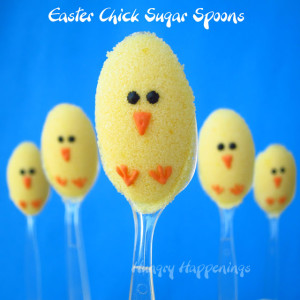
Source: http://www.hungryhappenings.com/2013/03/Easter-crafts-sugar-eggs-sugar-cubes.html
Easter Pizza
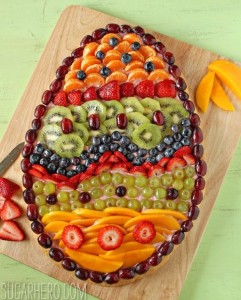
Source: http://www.sugarhero.com/fruit-pizza/
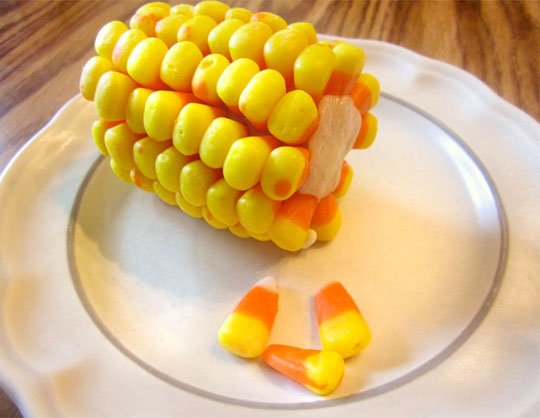
Easter Veggie Pizza
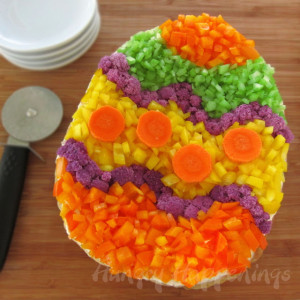
Source: http://www.hungryhappenings.com/2012/03/this-easter-have-fun-decorating-easter.html
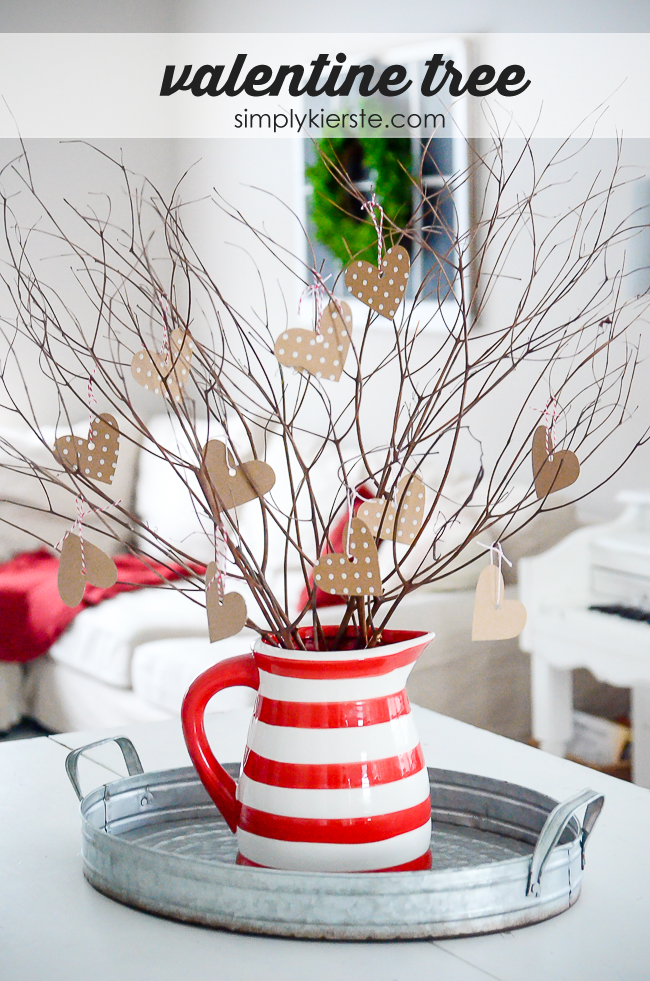
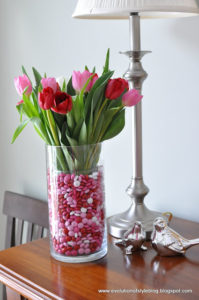
Easter Centerpiece
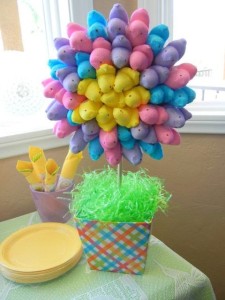
Source: http://catchmyparty.com/photos/551735
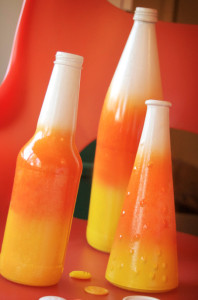
Bunny Bottles
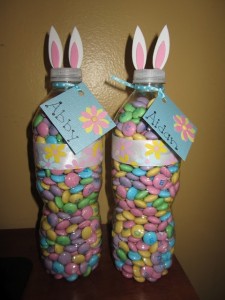
Source: http://followpics.net/diy-quick-and-easy-easter-bunny-made-from-water-bottles/
Easter Chicks Deviled Eggs
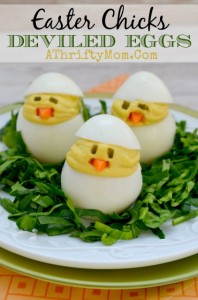
Source: http://athriftymom.com/easter-chicks-deviled-eggs-diy-simple-money-saving-recipe/
Easter Party Carrot Cutlery
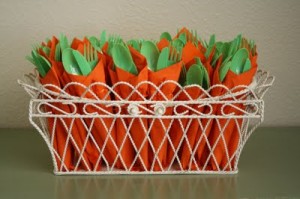
Source: http://adiamondinthestuff.com/2011/04/easter-party-carrot-cutlery.html
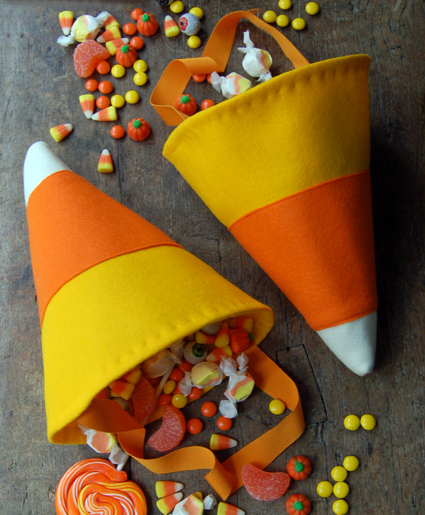
Carrot Bags
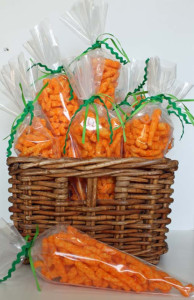
Source: http://creativeorganization.blogspot.com/2010_03_01_archive.html
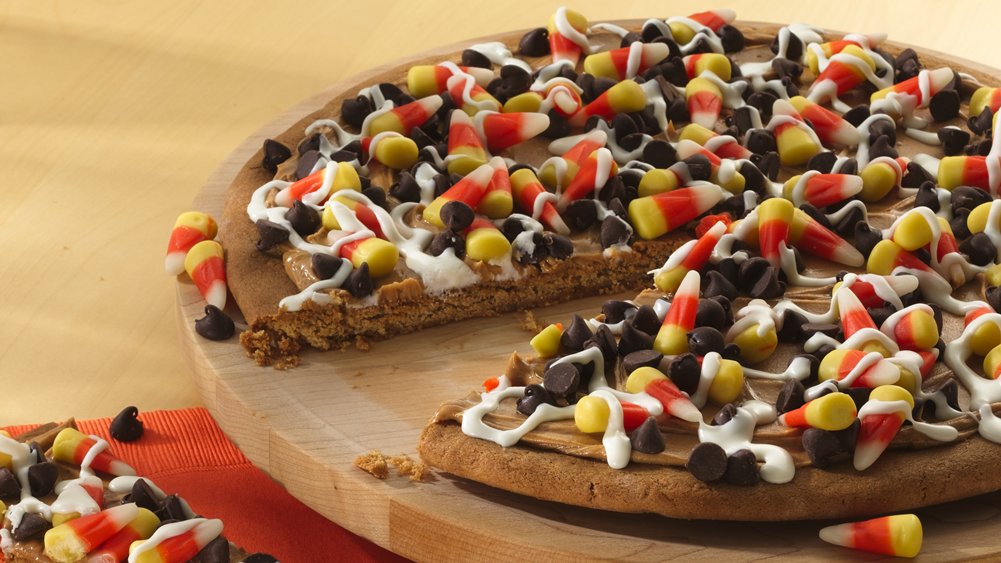
Easter Peep-Za
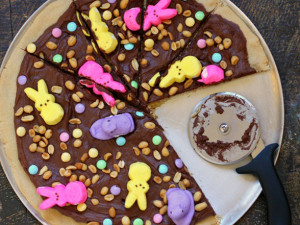
Source: http://blog.cookingchanneltv.com/2012/04/06/easter-peep-za-dessert-pizza-recipe/
Rainbow Easter Eggs
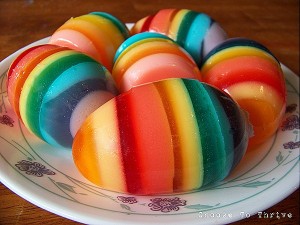
Source: http://choosetothrive.blogspot.com/2011/04/rainbow-easter-eggs.html
Swirl Easter Eggs
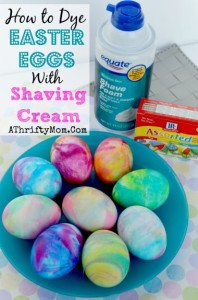
Source: http://athriftymom.com/swirl-easter-eggs-how-to-dye-easter-eggs-with-shaving-cream/


