Tag Archive | Garlic

Crock Pot Copycat Olive Garden Pasta e Fagioli Soup

Pasta_e_Fagioli

Olive Garden’s Pasta e Fagioli

I love having lunch at Olive Garden with friends to enjoy their delicious soups and salad. Their Pasta e Fagioli soup (similar to minestrone) is one of my favorites so it was a fun challenge to recreate at home. I found some great copycat recipes online which I adapted a bit but the twist on the challenge was to recreate it for the crock pot. The result is truly phenomenal and is an exact flavor copy of Olive Garden’s version! I recently had a large group of friends over and served this recipe and they all agreed it was identical to Olive Garden’s soup. There also weren’t any leftovers…Boo!

Quick note: If you want to make a true copycat you’ll need to use the ditali pasta. However, it can be a little harder to find and is also more expensive so I usually swap it out for fusilli or another small pasta.

Crock Pot Copycat Olive Garden Pasta e Fagioli Soup
Serves 6-8

  • 1 pound ground beef
  • 1 small onion, finely diced
  • 2 carrots, julienned or shredded
  • 4 stalks of celery, finely diced
  • 4 cloves of garlic, minced
  • 1 (15 oz.) can red kidney beans
  • 1 (15 oz.) can great Northern beans
  • 2 (14.5 oz.) cans diced tomatoes with Italian herbs
  • 1 (28 oz.) can tomato sauce
  • 1 (12 oz.) can V8 juice
  • 1 tablespoon vinegar
  • 2 teaspoons salt
  • 1 tablespoons of Italian seasoning
  • 2 teaspoons parsley
  • 1/2 teaspoon pepper

At the end:

  • 1/2 pound ditali pasta (you can also substitute with fusilli, macaroni, or any small pasta you like)
  • Freshly grated Parmesan cheese

Directions: 

1. In a large skillet, brown the meat. Drain off the fat and transfer the cooked hamburger to the bottom of the crock pot.

photo

2. Pour the remaining items, except for the pasta and Parmesan cheese, over the hamburger.

Ingredients in crockpot

Stir everything together.

Stirred Together

Cook on LOW for 7-8 hours or on HIGH for 4-5 hours.

Cooked Soup

3. During the last 30 minutes of cooking, add the dry pasta to the crock pot and stir to incorporate. Stir every ten minutes or so to make sure the pasta doesn’t stick and that it can absorb enough liquid.

Soup with pasta

4. Pour soup into bowls and garnish with Parmesan cheese and serve along garlic bread. Enjoy!

plated soup

Crock Pot Copycat P.F. Chang’s Mongolian Beef

Mongolian Beef PlatedIf you’ve ever eaten at P.F. Chang’s, you know you’re always in for a treat. Everything on their menu is so stinking good. Unfortunately, the closest P.F. Chang’s we have is about 45 minutes away so it’s rare that we get to enjoy eating there. I love, love, love their Mongolian Beef so it was a happy day when I came across the recipe in one of Todd Wlbur’s copycat books. While it was pretty close to spot on I have made some changes which I think make it taste more like the original and also make the recipe crockpot-friendly. The result is to die for! The beef is tender and tangy and the sauce it cooks in thickens up nicely to pour over rice or noodles. It’s an easy crock pot recipe to put together in the morning and the smells you come home to are heavenly. I hope you enjoy the recipe as much as my family does! And if you like a little heat, try adding some Sriracha to the sauce. 🙂

Crock Pot Copycat P.F. Chang’s Mongolian Beef
Serves 4

  • 1 pound flank steak or london broil
  • 1/2 cup cornstarch
  • 4 large green onions, sliced into 1 inch chunks
  • 1 teaspoons olive oil
  • 1 teaspoon sesame seed oil
  • 1 teaspoon freshly grated ginger
  • 4 garlic cloves, finely minced
  • 1/2 cup soy sauce
  • 1/4 cup Hoison sauce
  • 1/2 cup water
  • 3/4 cup dark brown sugar
  • 1/4 cup toasted sesame seeds (optional)
  • Green Onions, finely sliced for garnish

Directions: 

1. Turn your crock pot on low while you start preparing the ingredients. Spray the interior of your crock pot with non-stick cooking spray.

2. Cut the steak into thick stir-fry size pieces, making sure to cut against the grain of the meat.

Whole Steak


Sliced Meat

Dredge the pieces of steak into the cornstarch, making sure both sides are well coated.

Dredged Pieces

Place the coated steak in the bottom of the crock pot and discard any leftover cornstarch.

Dredged Pieces in Crockpot

3. Layer sliced green onions over the steak.

Green Onions over steak

4. In a small mixing bowl, combine remaining ingredients and whisk until well blended.

Sauce mixture

Pour sauce over the steak. Cook on HIGH for 2-3 hours or on LOW for 4-5 hours.

Sauce over steak

Serve over rice or noodles and garnish with green onions. Enjoy!

Mongolian Beef Plated

Make At Home: 7 Simple & Essential Spice Mixes

spicesSpices are like shoes for me. I have way too many! Unlike my shoes, with as much as I cook and bake, I get plenty of uses out of my spice. One life hack that I’ve recently discovered is making my own spice mixes. I’m sensitive to monosodium glutamate (MSG) which is in just about everything nowadays so I love that I can eliminate MSG from my seasonings, limit the amount of salt that goes into them, and save a ton of time and money all at the same time. Seriously, how often have you run to the store to pick up a packet of taco or Italian seasoning because a recipe called for it and you were out? Chances are you actually already had all of the spices needed in your cupboard! Even better, if your family really loves an herb or spice (in my house it’s garlic and parsley) you can add extra to your spice mix to create a truly unique family blend. Use empty spice containers or small mason jars to hold your spice mixes. As long as you place these spice mixes in an airtight container, they should keep for six months. 

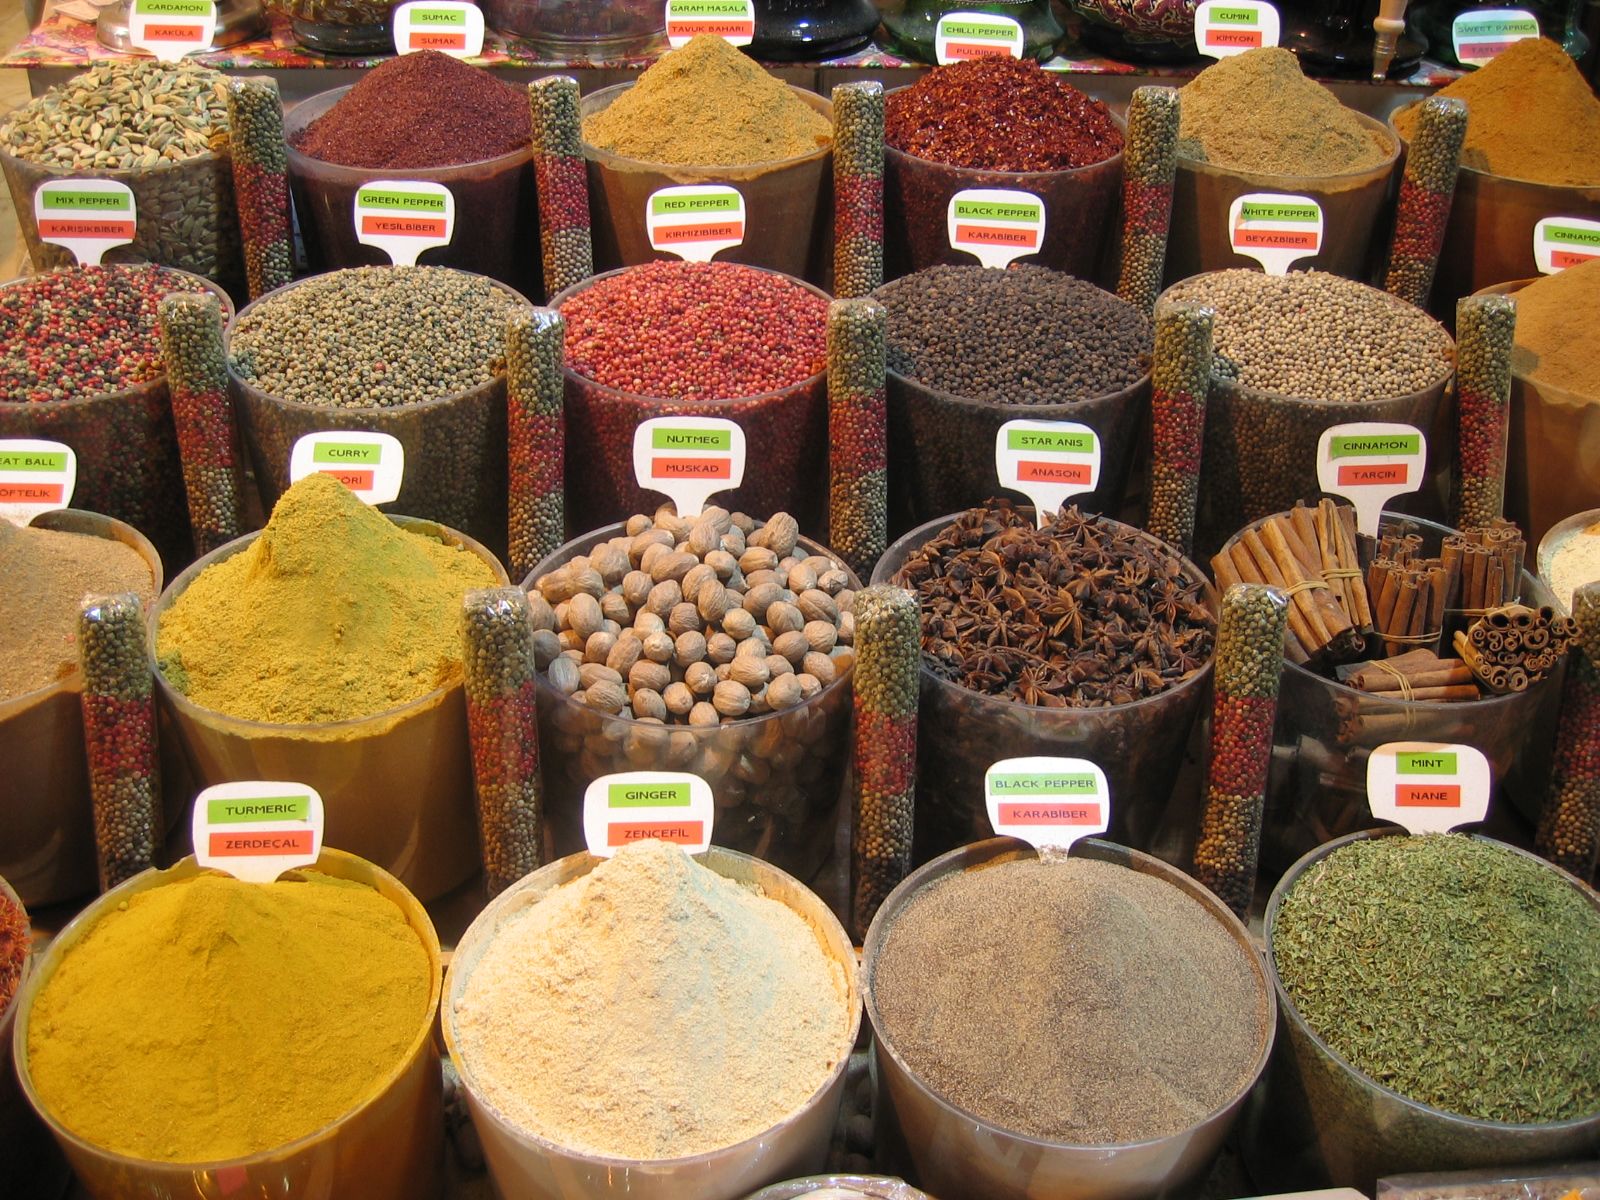
So here are my top 7 spice mixes or blends which you can make at home. Don’t forget, be creative! If you don’t like something then don’t add it. If you really like something else then add even more! Treat it like a fun home experiment. 🙂

#1: Taco Seasoning Recipe
Old el Paso taco seasoning
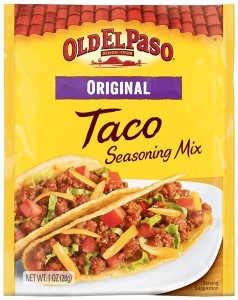
This is a great substitute for your store-bought taco seasoning packets like Old El Paso and McCormick. This recipe equals one ounce of taco seasoning or one packet of taco seasoning mix. Use for tacos, fajitas, or anything you want to add a little zip to.


Ingredients:

  • 1 teaspoon salt
  • 1 teaspoon black pepper
  • 1 tablespoon chili powder
  • 1/2 teaspoon garlic powder
  • 1/4 teaspoon onion powder
  • 1/4 teaspoon crushed red pepper flakes
  • 1/4 teaspoon dried oregano
  • 1/2 teaspoon paprika
  • 1 1/2 teaspoons ground cumin

Directions:

Mix all of the above ingredients in a bowl. Store in an airtight container.

#2: Italian Seasoning Recipe
italianI use A TON of Italian Seasoning in my house so finding my own recipe was a must. This is a great copycat of the pricey bottled variety which never lasted long in my home. 


Ingredients:

  • 3 tablespoons dried basil
  • 3 tablespoons dried oregano
  • 3 tablespoons dried parsley
  • 1 tablespoon garlic powder
  • 1 teaspoon onion powder
  • 1 teaspoon dried thyme
  • 1 teaspoon dried rosemary
  • 1 teaspoon dried sage
  • 1/4 teaspoon black pepper
  • 1/4 teaspoon red pepper flakes

Directions:

1. Place the ingredients in a food processor and pulse a few times until the herbs are uniform and thoroughly mixed. Store in an airtight container.

#3: All Purpose Seasoning Recipe
all purposeI love a good all purpose seasoning and is great on meat, fish, veggies, and pasta. Basically great on anything savory. 🙂


Ingredients:

  • 2 teaspoons kosher salt
  • 1 teaspoon black pepper
  • 1 teaspoon garlic powder
  • 1 teaspoon onion powder
  • 2 teaspoon paprika
  • 1 teaspoon red pepper
  • ¾ teaspoon dried oregano
  • ½ teaspoon ground bay leaves
  • ¼ teaspoon chili powder

Directions:

Mix all of the above ingredients in a bowl. Store in an airtight container.

#4: Apple Pie Spice Recipe
pumpkin pie spice
As soon as the leaves start to turn my family starts to crave some homemade apple pie and pumpkin bars. Those teeny tiny bottles of apple pie spice can cost $3-$4 but what’s really in them? Just a few standby spices you already have in your spice cupboard! 🙂


Ingredients:

  • 1 Tablespoon ground cinnamon
  • 1 teaspoon ground nutmeg
  • 1 teaspoon ground allspice
  • 1/2 teaspoon ground cloves
  • 1/2 teaspoon ground ginger
  • 1/4 teaspoon of cardamom (optional)

Directions: 

Mix all of the above ingredients in a bowl. Store in an airtight container.

#5: Seasoned Salt Recipe
lawryIf you like Lawry’s Seasoned Salt then you’ll love this MSG-free copycat substitute. Great on just about everything.


Ingredients:

  • 2 Tablespoons kosher salt
  • 2 teaspoons sugar
  • 1/2 teaspoon paprika
  • 1/4 teaspoon turmeric
  • 1/4 teaspoon onion powder
  • 1/4 teaspoon garlic powder
  • 1/4 teaspoon cornstarch

Mix all of the above ingredients in a bowl. Store in an airtight container.

#6: Dry Zesty Italian Dressing Recipe
Italian dressing
Dry Italian Dressing is one of those items that’s called for in a lot of my favorite crockpot and pasta salad recipes but it’s pretty pricey and always seemed to be that one item I never had on hand. Not anymore! This is a great copycat recipe for “Good Seasons” and MSG-free!


Ingredients:

  • 2 tablespoons dried oregano
  • 1 tablespoon garlic salt
  • 1 tablespoon onion powder
  • 1 tablespoon white sugar
  • 1 tablespoon dried parsley
  • 2 teaspoons kosher salt
  • 1 teaspoon dried basil
  • 1 teaspoon ground black pepper
  • 1/4 teaspoon dried thyme
  • 1/4 teaspoon celery salt

Mix all of the above ingredients in a bowl. Store in an airtight container.

Italian Salad Dressing Recipe:

  • 2 Tablespoons of Dry Zesty Italian Dressing (Recipe Above)
  • 1/4 cup vinegar
  • 1/2 cup oil
  • 2 Tablespoon water

#7: Dry Ranch Seasoning Recipe
ranchThis is a great copycat and MSG-free version of a packet of dry Hidden Valley Ranch Dressing and equals one packet. I see these packets called for in a lot of casserole and crock pot recipes so it’s great to have a home-made version for the seasonings instead of buying all of those packets.
Ingredients:

  • 1 teaspoon dried parsley
  • 1 teaspoon kosher salt
  • 1/2 teaspoon garlic powder
  • 1/4 teaspoon onion powder
  • 1/4 teaspoon fresh ground black pepper
  • 1/8 teaspoon dried thyme

Mix all of the above ingredients in a bowl. Store in an airtight container.

Ranch Salad Dressing Recipe:

  • Dry Ranch Seasoning (Recipe Above)
  • 1 cup of mayonnaise
  • 1 cup of buttermilk

Directions:

1. Mix ingredients in a medium bowl and chill in the refrigerator until ready to serve with salad.

Ranch Dip Recipe:

  • Dry Ranch Seasoning (Recipe Above)
  • 1/4 cup buttermilk
  • 1 3/4 cups sour cream

Looking for other great recipes and ideas? Be sure to subscribe to my blog for the latest updates or see a few of my favorite previously published recipes and ideas below:

Cuckoo for Candy Corn: 33 Fun Recipes, Crafts, and More

Crock Pot Copycat Panera Bread Broccoli Cheddar Soup

4 Ingredient Crock Pot Balsamic Pot Roast

Crab Rangoon Dip

Crab Rangoon DipI cannot get enough Crab Rangoon. Also known as crab wontons, traditional crab rangoon is made by filling an egg roll wrapper with cream cheese, crab, and green onions, pinching to make a little fan and frying until golden and delicious.Traditional Crab Rangoon So if you adore crab rangoon as much as I do then you will go crazy for this crab rangoon dip, which requires no frying and takes just a few minutes to throw together. I’ve made it for dinner and office parties, girls’ nights, and potlucks and always gets rave reviews, even from those who claim they don’t care for crab.

Crab Rangoon Dip
*This recipe was adapted from a Pampered Chef recipe.
16 Servings

  • 8 ounces cream cheese, softened
  • 2 garlic cloves, minced
  • dash of salt and pepper
  • 1 cup swiss cheese, shredded
  • 1 14 oz. jar sweet and sour sauce (I doubled the original amount listed cause I felt it needed more but if you prefer less sweet and sour sauce then feel free to adjust to suit your taste)
  • 8 ounces imitation crabmeat, roughly chopped
  • 1/4 cup green onion, thinly sliced
  • 1 bag of pita chips or preferred dipping chip

Directions: 

1. In a small bowl, combine cream cheese, minced garlic, and salt and pepper and blend until smooth. Add half of the crabmeat and swiss cheese and combine.

Bowl of cream cheese mixture

2. Spread mixture into the bottom of a 1-2 quart baking dish.

Spread cream cheese into a baking dish

Sprinkle remaining crab meat over cream cheese.

crab meat over cream cheese

Pour sweet and sour sauce over the top and microwave uncovered 4-6 minutes.

Sweet and sour over cream cheese

3. Remove from microwave and garnish with green onion. Serve with pita chips for dipping.

Crab Rangoon Dip

There couldn’t be an easier or tastier dip!

Pizzeria Garlic Knots

Plated Knots

I love baking garlic bread to go along Italian dishes and these homemade garlic knots are my favorite. They’re very simple, kids love to help with knotting the dough, and they taste just as good as any Italian restaurant or pizzeria’s garlic bread and tons better than the frozen stuff. They also make a great appetizer when served with marinara for dipping. Warning: these disappear quickly so consider a double or triple batch. 🙂

I’ve included both the bread machine and by hand directions below.

Pizzeria Garlic Knots
Makes 24 knots

Dough:

  • 3/4 cup warm water
  • 1 packet active dry yeast
  • 1 3/4 cups bread flour
  • 1 tablespoon olive oil
  • 1 teaspoon salt
  • 1 teaspoon dry Italian seasoning
  • 1 tablespoon sugar

Garlic Butter

  • 4 tablespoons butter
  • 4 cloves garlic, minced
  • 1/4 cup parsley, finely chopped
  • 1 teaspoon salt

Bread Machine Directions:

If using a bread machine, add the ingredients as recommended by your bread machine and set to dough setting. Continue with “Making the knots” (below):

Risen dough

By Hand Directions: 

In a small bowl, add the warm water and sugar and mix. Add the yeast and let rest for 5 minutes. In a large bowl, whisk together flour, olive oil, salt, and Italian seasoning. Make a small well in the center of the four mixture and pour in the yeast water. Mix and then knead together for 5-10 minutes. Form the dough into a ball, lightly coat with olive oil, and place in a covered dish to allow to rise (approximately 1 1/2 hours).

Making the knots: 

After your dough has finished rising, grab a handful of dough at a time and roll out on a floured surface. Roll to a small rectangle, about 4 inches long and 1/2 an inch thick.

Rolled dough

Using a pizza cutter, make 1 inch strips.

Strips

Take each strip and tie to make a knot.

Knotting


Knotted

Lay on a greased baking tray and leave plenty of space in between so that the knots can rise a second time.

Knots on a tray

Cover pan of knots with seran wrapped sprayed with olive oil and let rise until doubled in size (about two hours).

Second rise

After knots have finished rising, preheat oven to 400°F.

Remove seran wrap and bake knots for 12 minutes or until golden brown. Remove from oven to cool.

Browned knots

While knots are cooling, melt the butter in a medium saucepan and add garlic. Heat on low for 2-3 minutes then add salt and parsley and remove from heat.

Garlic Butter

Generously brush garlic butter onto the still warm knots. I just pile all the finished knots onto one tray and brush away.

Garlic Brushing

Enjoy!

Plated Knots

Lemon Shrimp Linguine

This recipe pushes all the right flavor buttonslemon, garlic, herbs, and buttery shrimp with just a hint of heat. It comes together very quickly and is on the table in no time. This refreshing shrimp pasta is perfect for a date night in or for sharing with guests over a bottle of wine and some crusty garlic bread.

Plated Lemon Shrimp Linguine

Lemon Shrimp Linguine
Serves 2

Ingredients:

  • 9 ounces linguine
  • 2 tablespoons olive oil
  • ½ cup diced onion
  • 4 garlic cloves, minced
  • 4 tablespoons butter
  • 1 pound uncooked medium shrimp, peeled, devained, and rinsed (If you don’t have fresh then frozen is also totally fine. Just be sure it’s thawed before adding.)
  • 1 cup Italian parsley, roughly chopped
  • 3 lemons, zested and juiced
  • 1 teaspoon salt
  • ½ teaspoon pepper
  • ½ teaspoon red pepper flakes
  • 1 cup freshly grated Parmesan cheese

Directions:

Bring a large pot of salted water to a boil. Add the linguine and cook until al dente. Drain pasta, reserving 1 cup of liquid.

In a skillet over medium-high heat, sauté onion and garlic in olive oil for several minutes, until softened. Add butter and ¾ cups of parsley and heat until  butter is melted.

Garlic, onion, parsley

Add shrimp and sauté for 3-5 minutes or until shrimp is cooked.

Shrimp

Add cooked pasta and pasta water and toss.

Add water

Add lemon juice and zest, salt, pepper, red pepper flakes, and ¾ cups of Parmesan cheese and toss until well incorporated.

Lemon Zest

Lemon Zest and juice

Serve onto two large plates and garnish with remaining parsley and Parmesan.

Plated Lemon Shrimp Linguine

Brazilian Steak with Cilantro Lime Sauce

I’ve been craving red meat recently. Not super surprising since I don’t eat it very often. We tend to eat a lot of chicken and fish so when a red meat meat craving hits, it can hit pretty hard. I was really in the mood for a Brazilian Steakhouse so I challenged myself to recreate it at home! I made a super simple 2-in-1 marinade and sauce for the meat, invited a few friends over, and had a proper grill-out, Brazilian style! The steak was incredibly flavorful and fully satisfied my craving! I hope you’ll try this recipe because it really knocks it out of the park!

Title Photo

Brazilian Steak with Cilantro Sauce
Serves 8

Ingredients:

  • 3 cups fresh cilantro
  • 6 garlic cloves
  • 1 tablespoon kosher salt
  • 1 teaspoon ground pepper
  • 1/4 cup sugar
  • 1 cup olive oil
  • 1 cup red wine vinegar
  • 1/2 cup water
  • 4 limes, juiced and zested
  • 5 lbs. London Broil Steak
    • I used London Broil but you can use also use flat iron, top sirloin, or really any cut of meat you like to grill.

Directions:

Marinade/sauce:
In a blender, add cilantro, garlic cloves, kosher salt, pepper, sugar, olive oil, red wine vinegar, water, lime juice and zest.

image

Blitz until smooth. Reserve 2 cups to use as a marinade for the steaks and pour the rest of the sauce into a storage container and refrigerate until ready to serve.

Cilantro Marinade & Sauce

Preparing the steaks:

Raw Steaks

Using a meat tenderizer, give both sides of the steaks several good whacks with the side that has teeth (see photo below of my meat tenderizer). This part is quite fun, I assure you! 🙂

Tenderizing Meat

Place meat in a large casserole dish or large storage container. Pour 2 cups of the cilantro marinade over the steaks, making sure both sides are well coated. Seal container with lid or cover with plastic wrap and marinate in the refrigerator for 4 hours minimum. 6-12 hours is ideal since this marinade will work some serious magic on even the toughest cuts of meat!

Grilling Time!

After the meat is done marinating, it’s time to grill! Aim for a medium-high heat and then throw the steaks on when nice and hot. I love a medium rare steak so it took about 20 minutes (10 minutes per side) to achieve that.

Grilling Steaks

Cooking time will vary depending on the grill, steak cut, thickness, and desired internal temperature so keep that in mind and be sure to keep a close eye. This is where having a grill-safe meat thermometer comes in super handy!

Once you’ve removed the meat from the grill, slice at an angle in thin strips. Be sure to slice with the grain since slicing against the grain will results in chewy meat. Pile the sliced meat on a plate and serve alongside the remaining cilantro sauce. I put the sauce in a big bowl and just let my guests drizzle as much or as little as they liked.

Plated Steak

This dish was a huge hit and the steak was gobbled up in no time! I’ll definitely be making it again but will plan on leftovers next time as the meat would be great the next morning transformed into steak and eggs and for lunch as a nice steak salad or wrapped up in warm tortillas as fajitas. I did have cilantro sauce left over though, so my plan is to transform some boring tilapia later in the week into something a little more festive. I love recipes that keep on giving and this one really knows how to do exactly that!

Glorious Garlic & Lime Rotisserie Chicken

Rotisserie chicken is truly the most glorious thing. EVER. To follow up my earlier post about purchasing my rotisserie machine, I am proud to say that I made my first rotisserie chicken and it came about beautifully! Image

You could certainly replicate it by roasting but I’m completely sold on my rotisserie machine so if you have one, USE IT! It’s so much easier than roasting a chicken and the flavor is all the proof you need. Here’s the recipe:


Garlic & Lime Rotisserie Chicken

  • 1 Whole Chicken*. I used a 5 lb. chicken. No matter the size, you’ll want to plan on 15 minutes per pound and also note that you’re looking for an internal temp of 170-180°F.
  • 1/2 cup of butter, softened
  • 2 T. of minced garlic
  • 3 limes, zested and juiced
  • Ground Pepper
  • Kosher salt

If your chicken comes with a pack of innards, remove and throw out. Wash and dry the chicken and season the cavity liberally with salt and pepper and set aside.

In a small bowl, combine softened butter with minced garlic, 1 tsp. ground pepper, 2 tsp. kosher salt, and zest and juice of the three limes. Work the garlic butter mixture under the skin of the chicken. spread around liberally. Reserve about a tablespoon to spread on top of the skin.

Using elastic food ties or butcher’s twine, truss the chicken. If you don’t have elastic food ties and want a super quick and easy way to truss the chicken with butcher’s twine, click HERE.

Place chicken on the spit rods and set time for 75 minutes or until the internal temperature is 170-180°F. When the timer goes off, let the chicken rest for 10 minutes in the rotisserie instead of on the counter by having it spin without heat. After it’s rested, remove and serve.

***Roasting Method*** For those roasting in the oven, bake at 425°F for 1 1/2 hours or juices run clear. Internal temp should 170-180°F.

Random side note: If you are looking for an inexpensive digital food thermometer, this is the one I own and LOVE.

My Infomercial Addiction

Let it be known…I have a serious infomercial addiction. But it’s really not that bad (spoken like a true addict)! I enjoy watching the infomercials but rarely do I actually buy the product advertised. Until now! First a little back story…Since I was little, my all-time favorite infomercial was for the Ronco rotisserie. You know the one; SET IT AND FORGET IT! As a little girl, I dreamed of all the amazing things I could make in that silly rotisserie. Well, needless to say I never bought it (I was maybe 11 at the time) and pretty much forgot all about those days of lusting after rotisserie chicken and screaming along with the audience as Ron turned the dial.

After a recent trip to Guatemala to visit my boyfriend’s family, his Dad made us the most amazing pork loin I’ve ever had in his Ronco rotisserie that’s he’s had for maybe 15 years. It was absolutely amazing and took me back to the days of SET IT AND FORGET IT!

So we get back from our trip and for the past few months I’ve been talking about that stupid pork loin and all the other great things that we could make in one of these machines. My poor boyfriend has probably started to go batty from listening to me prattle on about it. Since it’s $130 it wasn’t an easy decision since the last thing I wanted was to buy the machine and have it die the oh to frequent infomercial death we all hear about and occasionally participate in. Alas, my birthday rolled around and I scored some serious Amazon gift card moolah and bought one for my very own! UPS just delivered it so I’m ready to get started! Here’s the white one I bought: 

It was a toss-up between white and stainless steel:But I think the white goes best with my kitchen. I promise you this; I shall prevail and come out on the other side pudgier but happy that I’ve used the crap out of my Ronco.